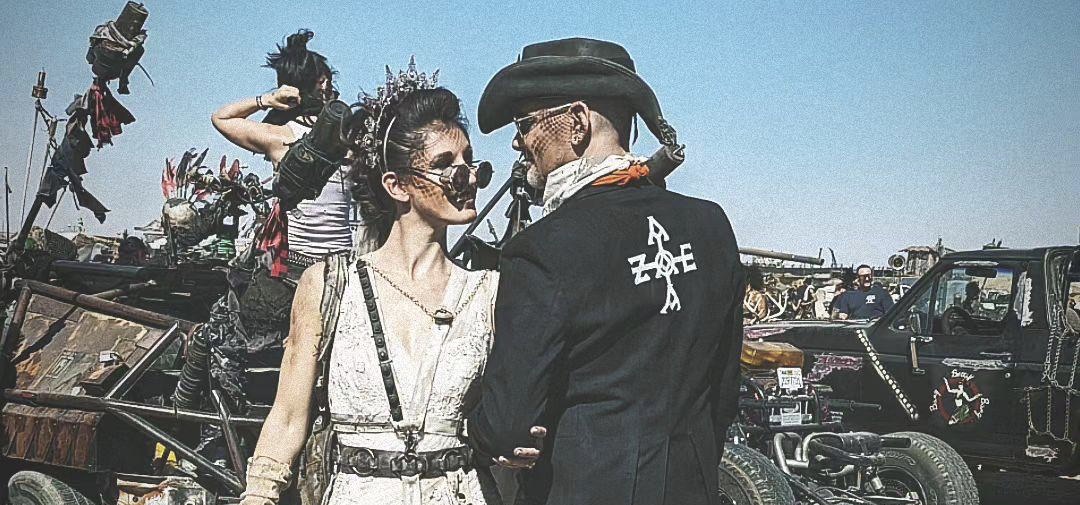
In a previous post, I talked about my once-in-a-lifetime experience celebrating our wedding at the incredible, Wasteland Weekend. This wasn’t only four days of partying and adventures, but I spent months in advance designing and building some epic LOOKS!
I spent almost a year ahead of the event… tormenting a thrifted wedding dress…
Wasteland Weekend has a strict dress code to preserve the fully immersive feel. At all times I would need to be dressed for the post-apocalypse, including during roasting hot days in the Mojave desert sun, partying at night when the temperatures can dip to single digits, withstanding wind and sandstorms, and, you know, celebrating our wedding! I spent almost a year ahead of the event scrubbing clothing against concrete, attacking seams with the edges of knives, staining fabric with coffee, and getting filthy with paint in various shades of “dirt”, including tormenting a thrifted wedding dress!
In designing my looks, I set myself certain challenges to guide my creativity: firstly, I wanted them to tell a story and every detail to be thought through and theme-appropriate. Many event veterans have earned nicknames and created personas through completing tasks and becoming part of a group, but, as a newcomer, I was still anonymous so had the opportunity to create my own “storyline” through my outfits. I had so much fun thinking through the concepts and characters behind each look!
Secondly, I wanted to use recycled materials where possible and focus on function in the details, all very much in keeping with the world of the event. For example, I found a belt buckle and a bottle opener in a charity shop, attached them together, and pinned to my coat as a sort of military-looking medal, but with a handy and hidden function behind it. It was also something I could trade or gift when walking around the event.
I wanted to level-up the difficulty and NOT wear black…
My third challenge was relatively big: as a long-term Goth who’s played with the post-apocalyptic look many times before, I wanted to level-up the difficulty and NOT wear black, but keep within the bridal white theme. This constraint was the most fun to work with and pushed my thinking – I wanted to feel sexy, strong, powerful, – traits that I usually embody while wearing a black leather jacket, or black latex dress. How was I going to pull this off using light tones!?
Next, I’ll talk through some of the looks, the thinking behind them, and how I responded to my self-imposed challenges.
Look: Post-Apocalypse Bondage Ballerina
This was such a fun one! I knew I wanted to incorporate a “bondage” element into my looks, inspired by the dominant use of awesome harnesses and strapping worn across all of the Mad Max movies. Once I’d found a white PVC cage skirt with d-rings on Vinted, the concept started to come together: I would incorporate my dance background and construct a “bondage ballerina” look. After all, you’ve got to make a living in the Wasteland somehow!
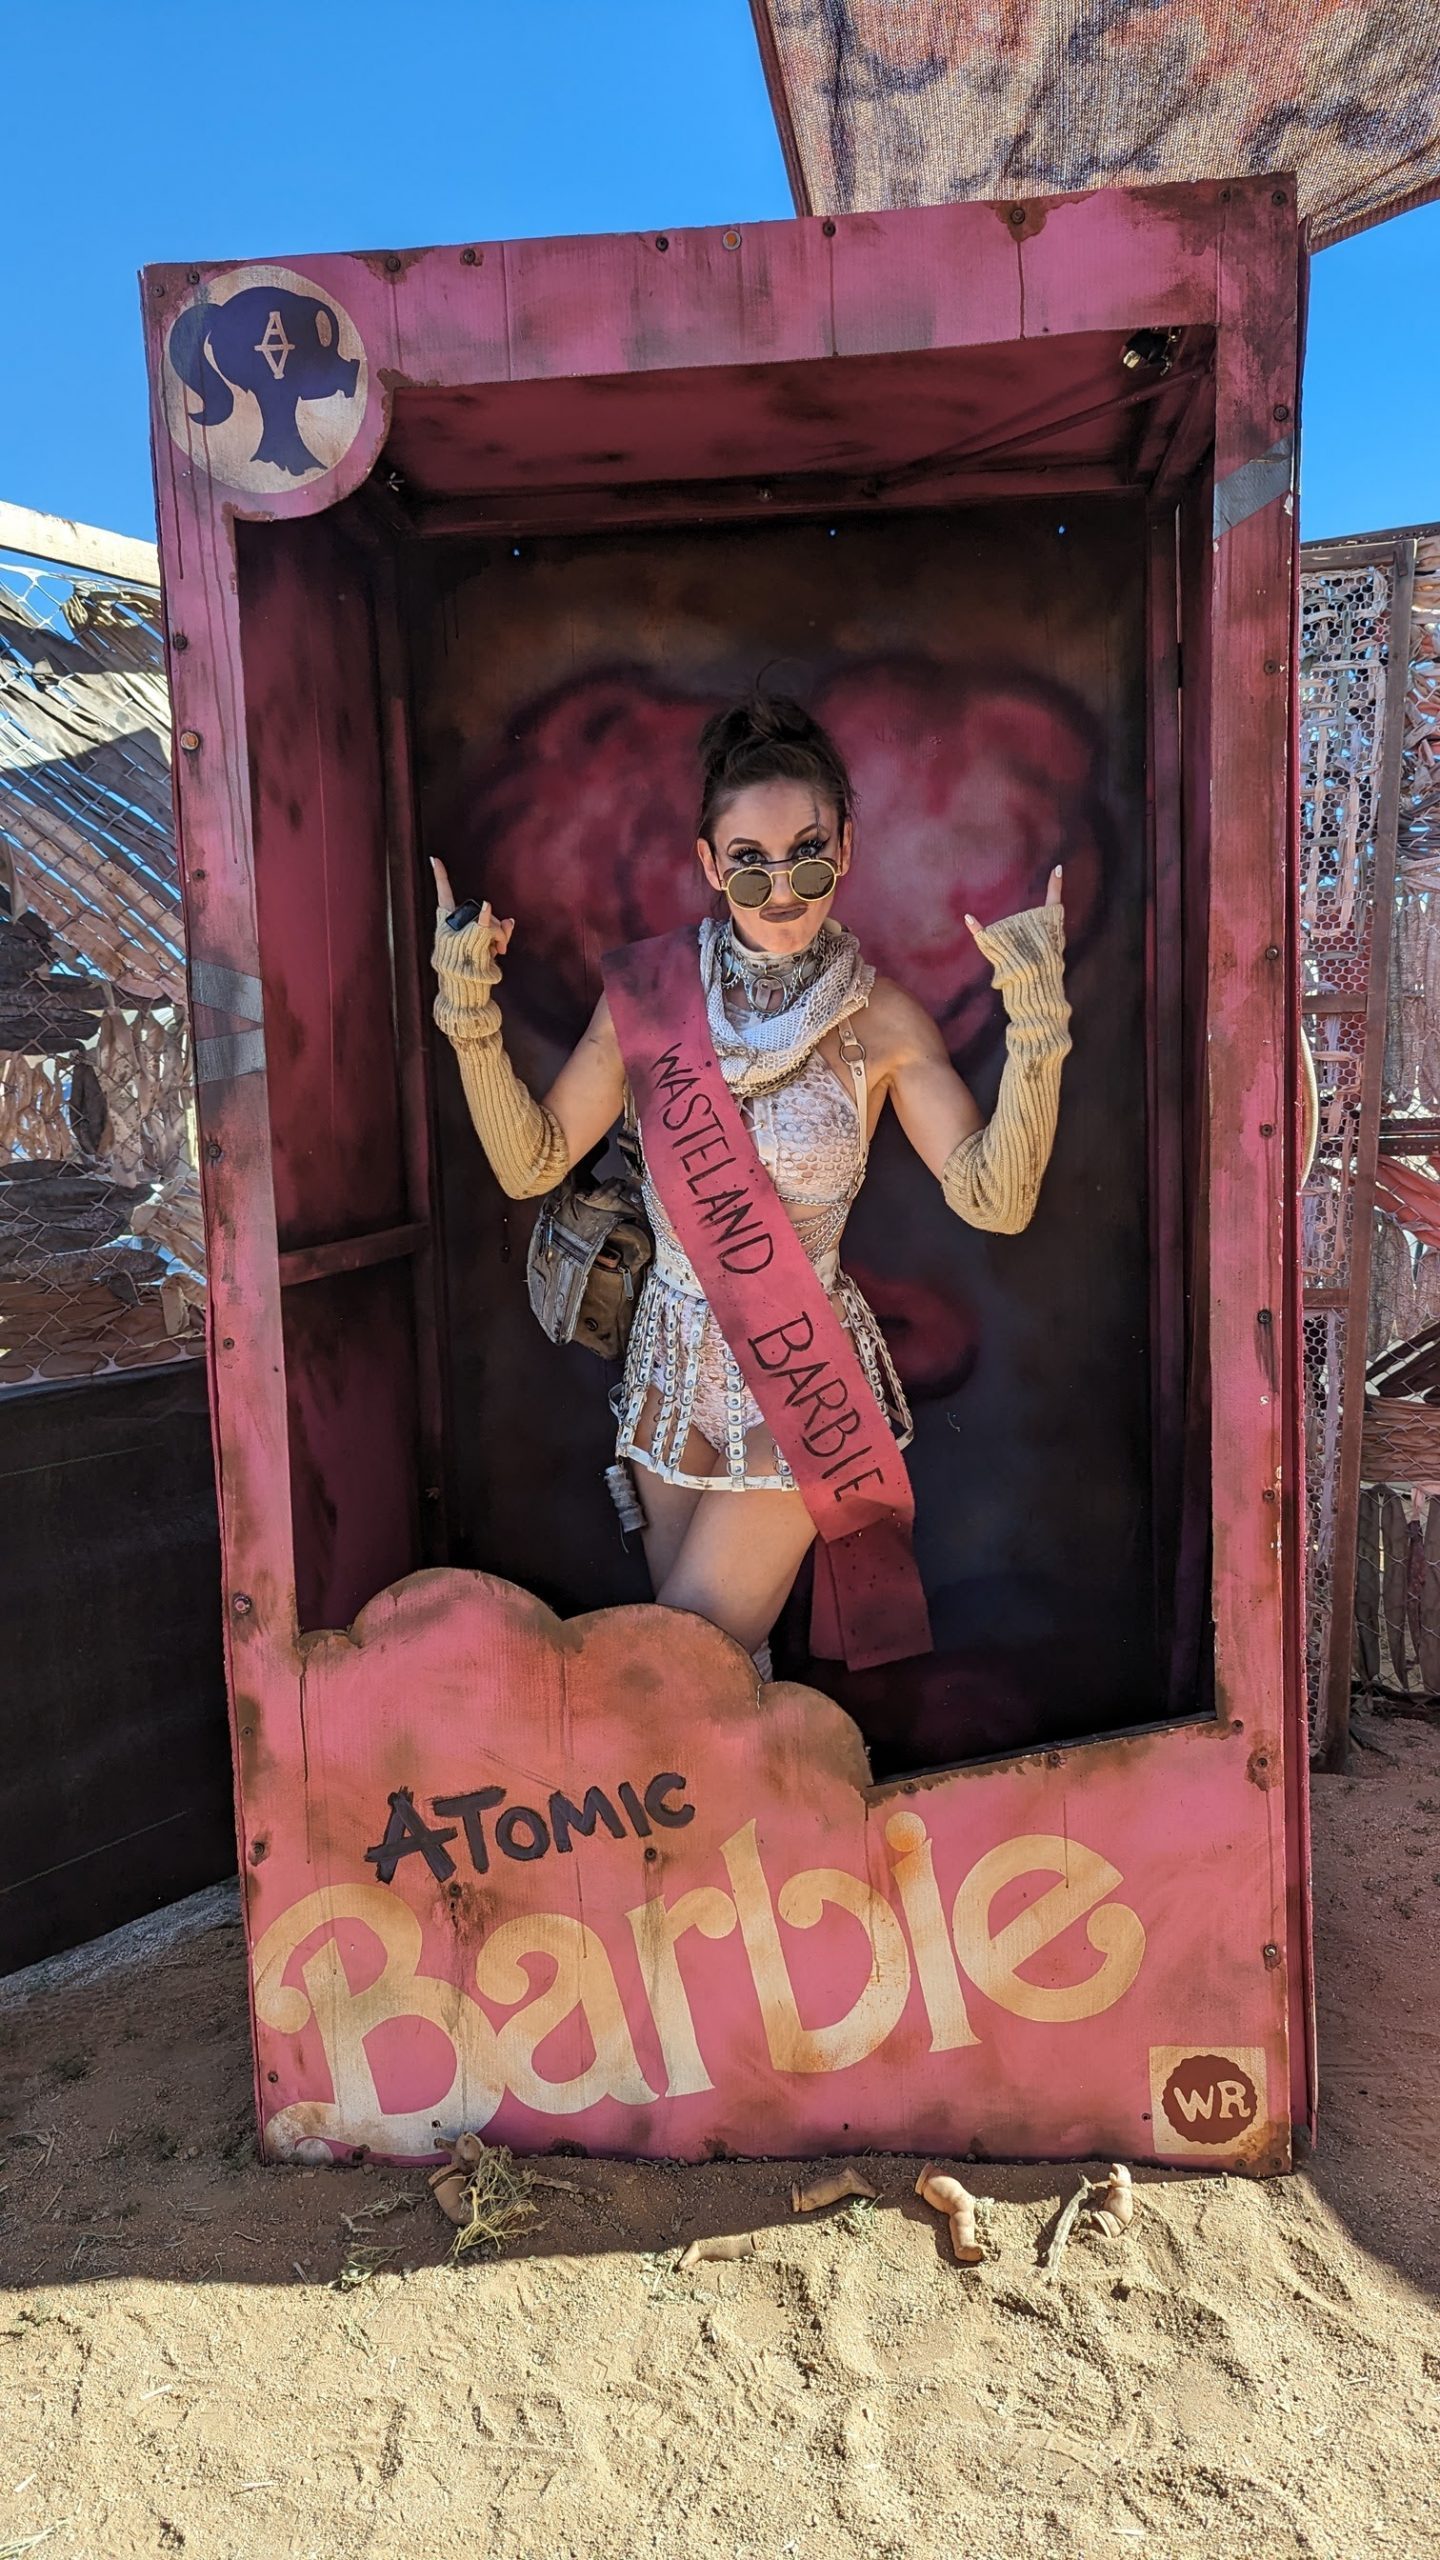
Hi, Wasteland Barbie!
I completed the look with a white harness, choker with chains, and a high-waisted fishnet bikini as my base layer. The finishing touch was some fluffy tulle leg warmers, which I was initially unsure about, but they were perfect once I’d gone to town distressing them!
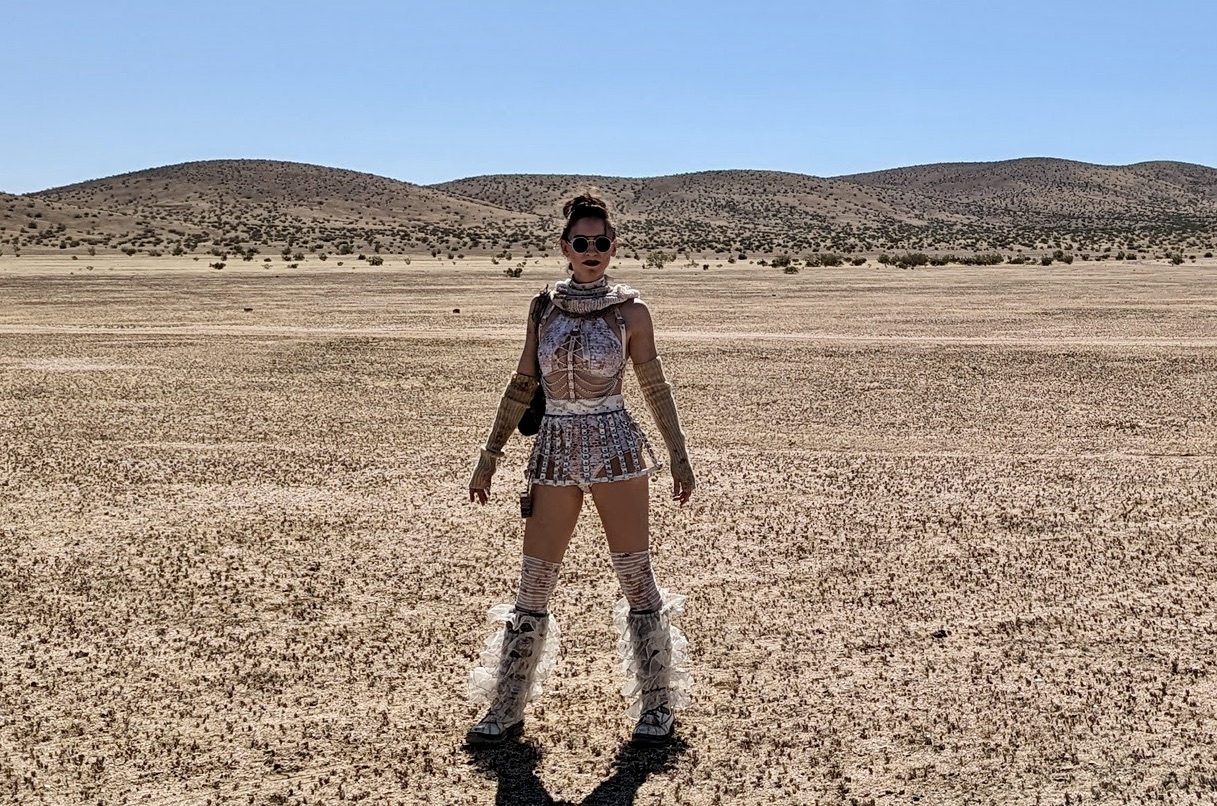
Desert ballerina
The “Wasting” process
I set about ruthlessly attacking my base pieces…
Distressing fabrics was an essential part of making the outfits Wasteland-appropriate. This process is even referred to as “Wasting”! I looked up some videos on YouTube to get ideas for techniques, then I set about ruthlessly attacking my base pieces.
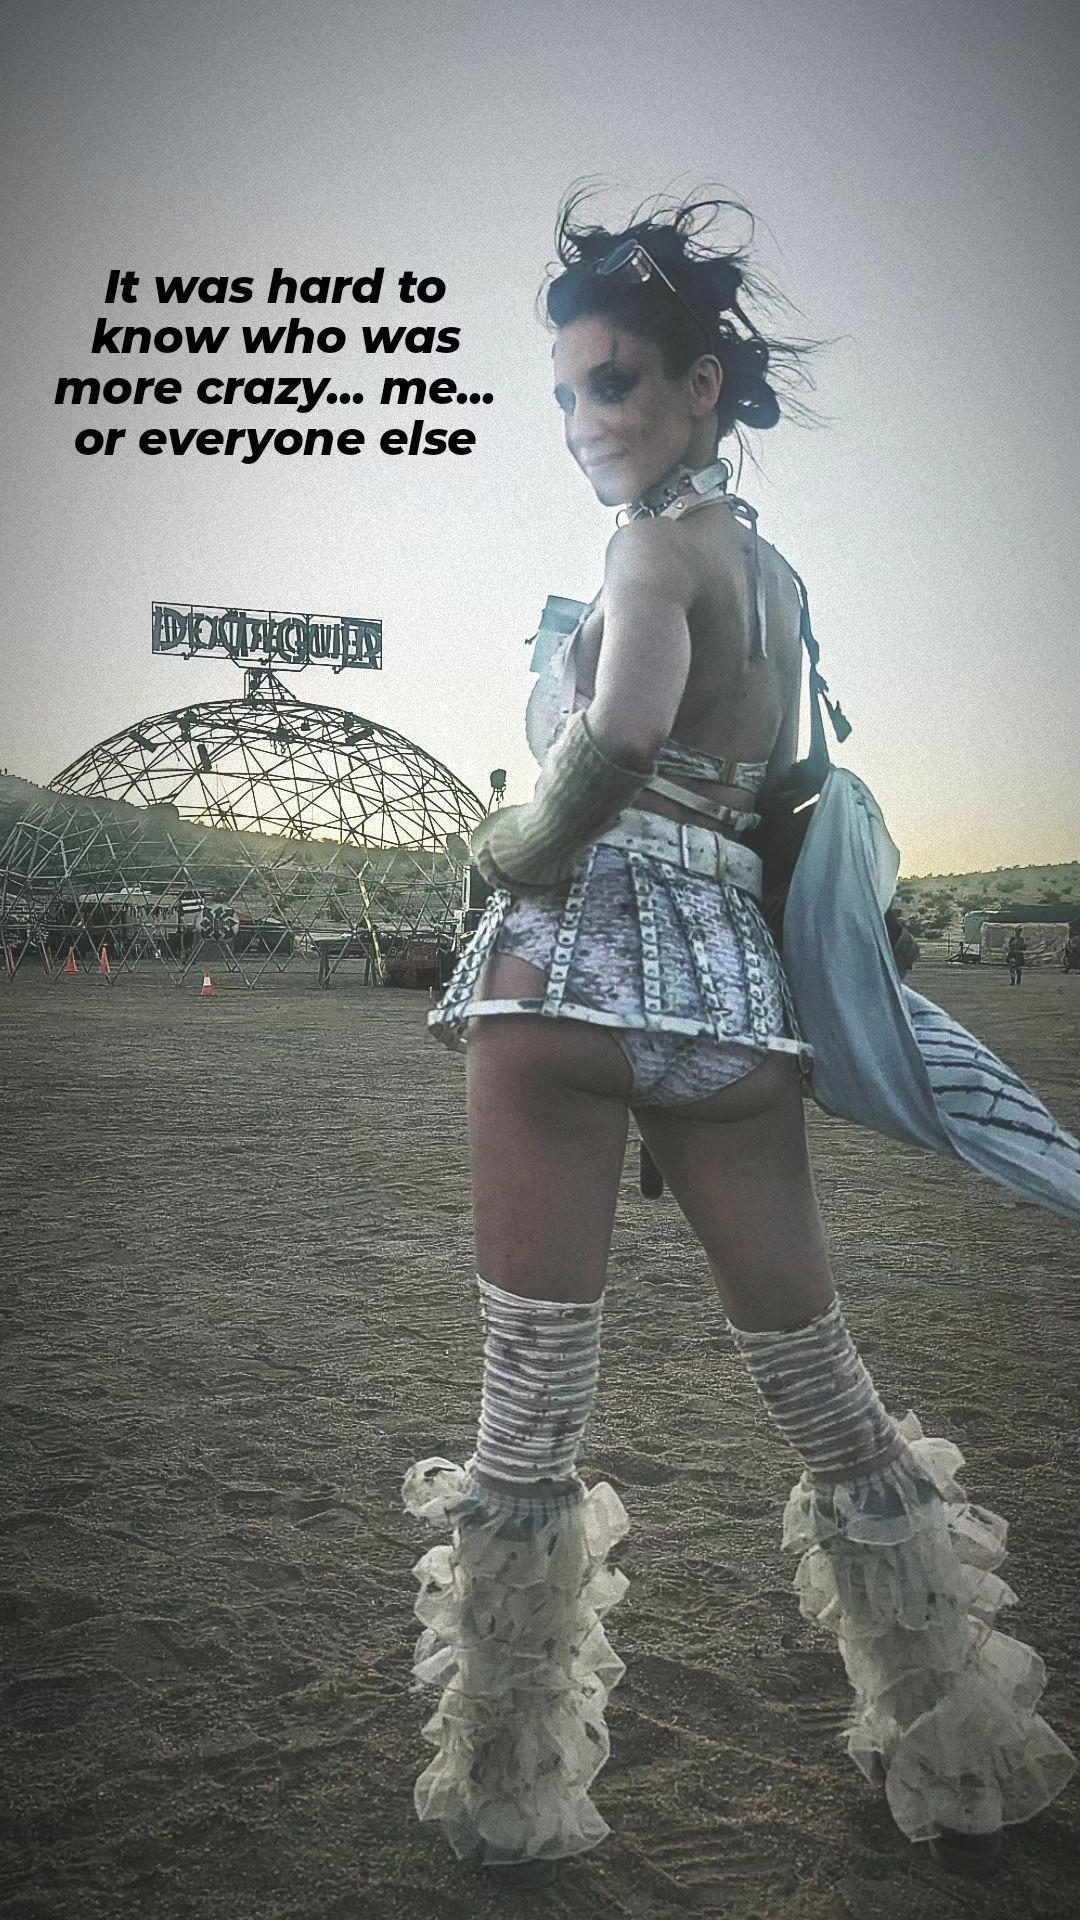
Bondage ballerina goes to the Thunderdome!
One of my favourite methods was adding a muddy colour using “dye” created by boiling used coffee grounds. I also enjoyed scuffing edges and any metal parts along the concrete paving stones in our garden, rubbing the materials so they picked up a scuffed texture. I also used a knife to score and scissors to cut edges on sturdy pieces like my bag, to really make them look well-used. I then used leather and acrylic paints to enhance any scratches and emphasise wear and tear, plus added some stronger “blood” and “gasoline” stains.
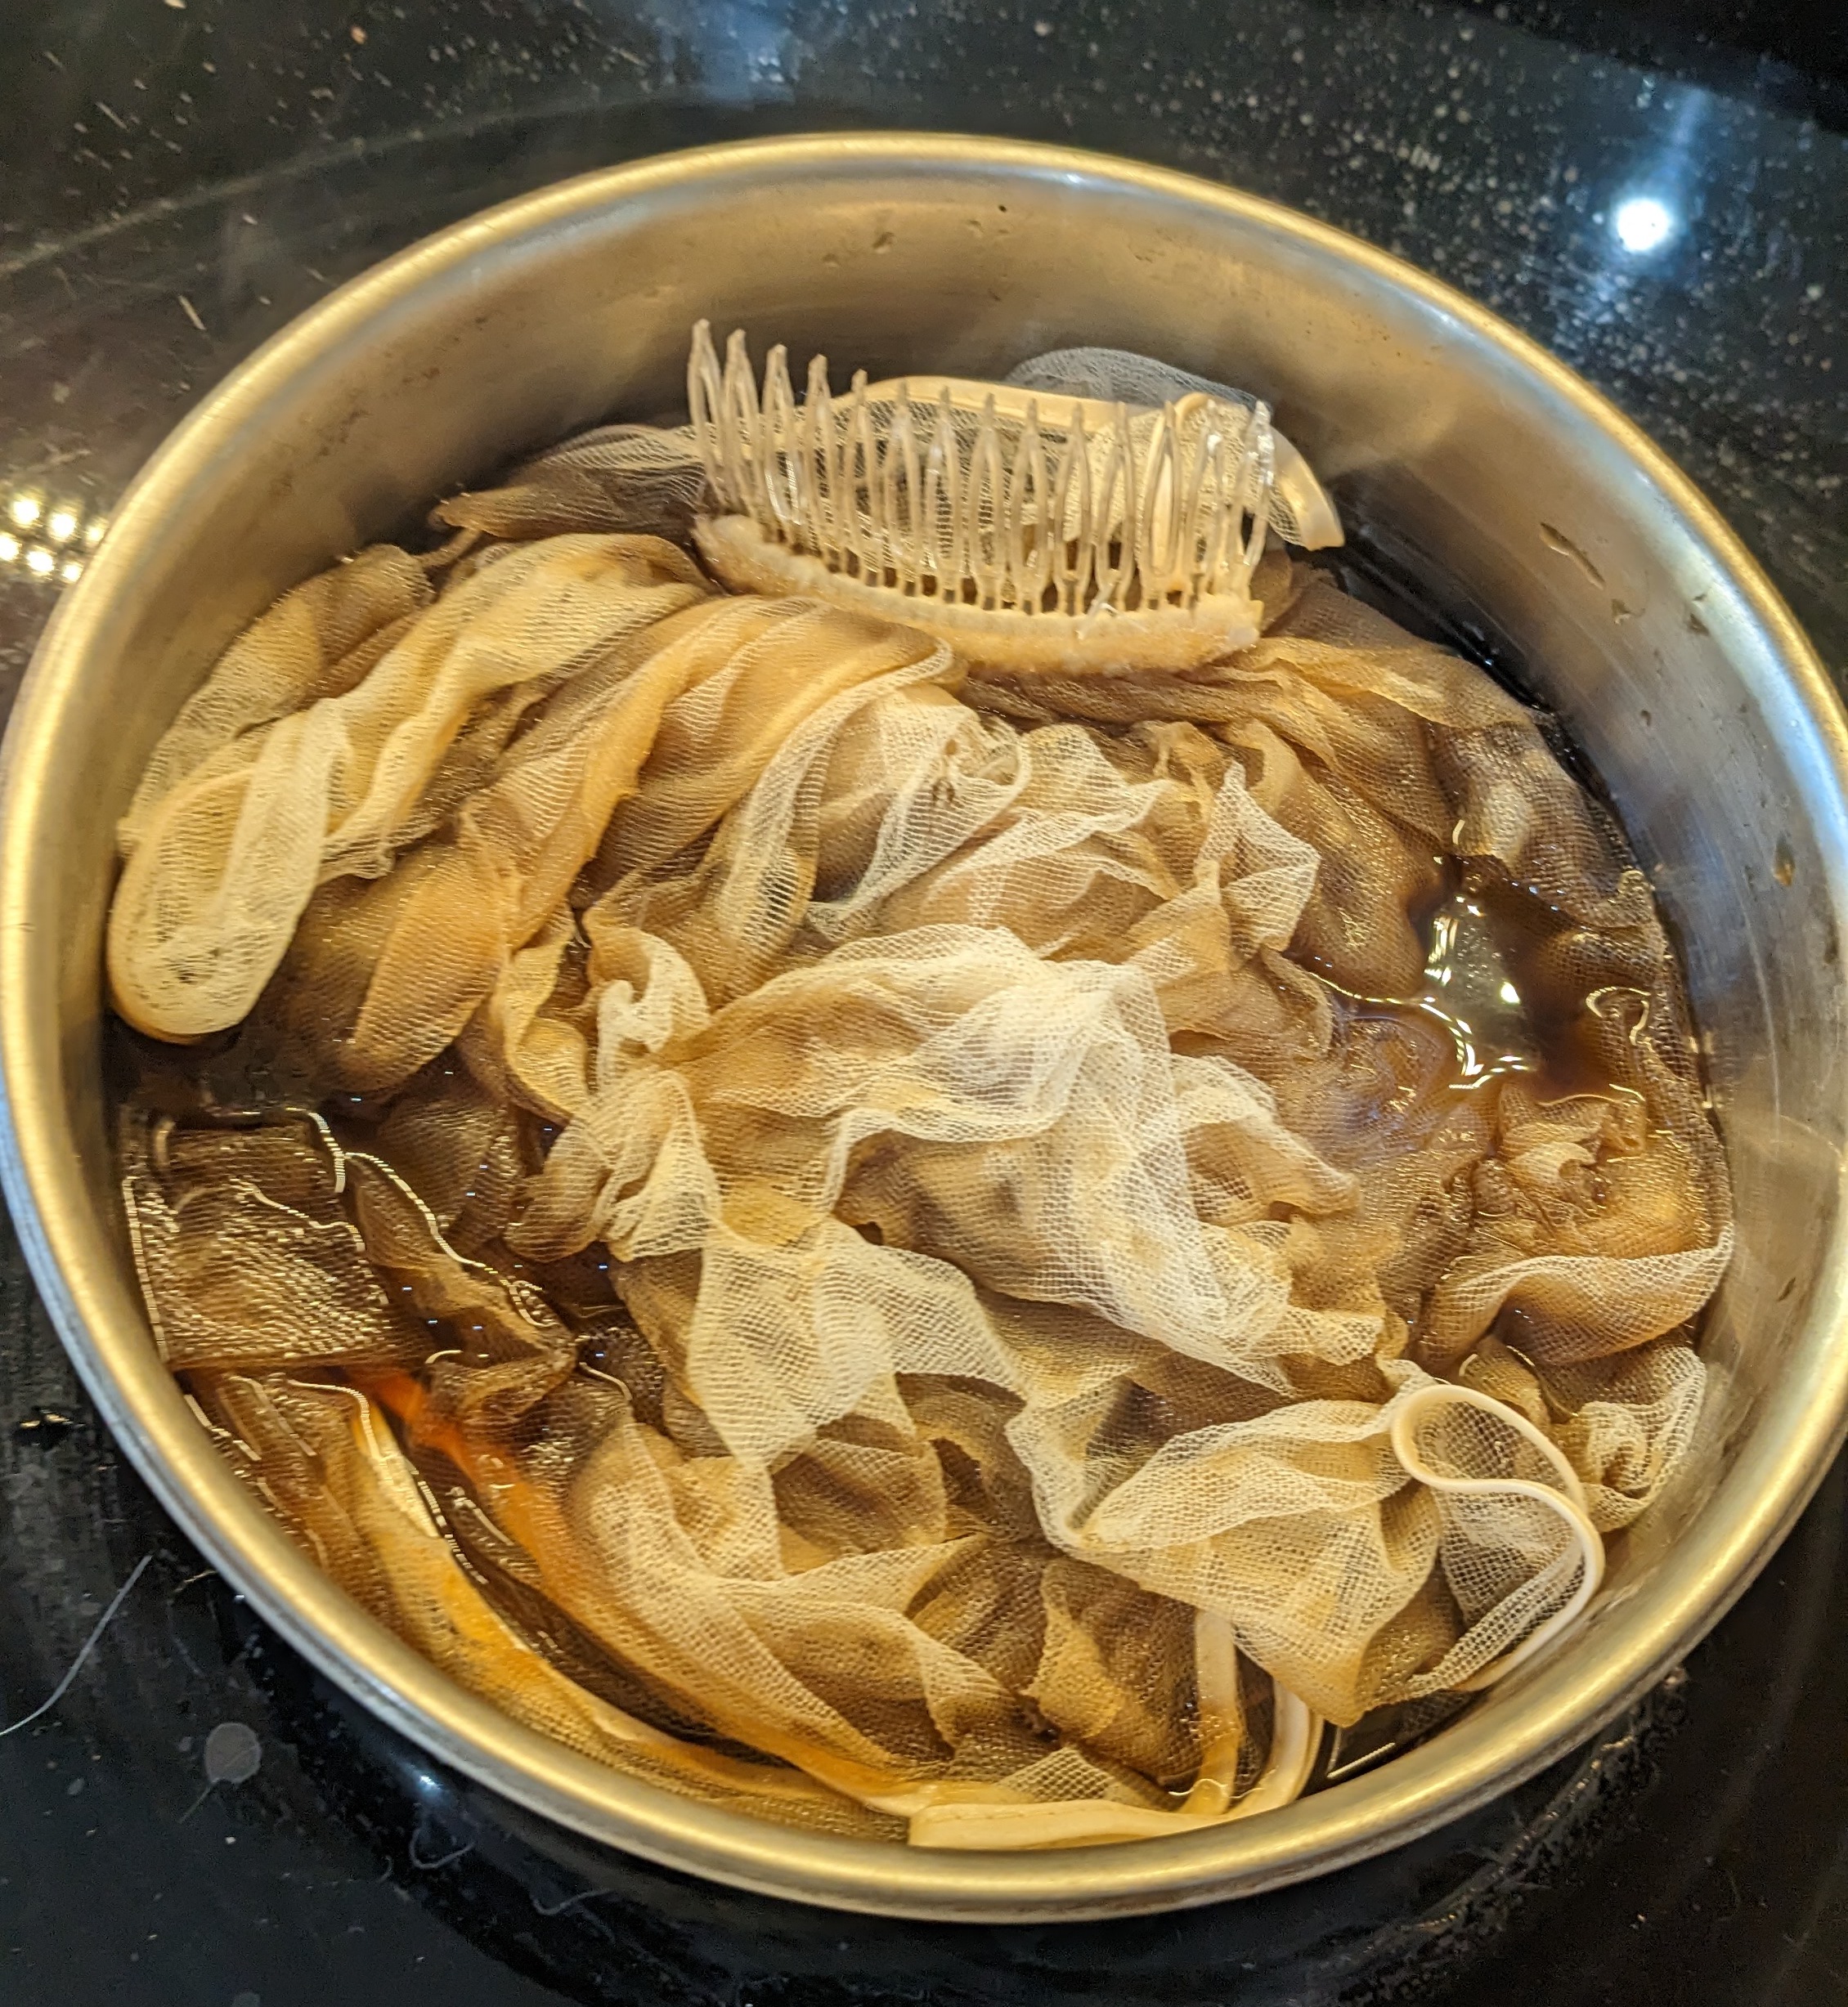
Creating a dye from re-boiled coffee grounds and staining fabric
I further customised elements of my outfits with our wedding “logo” (the Byzantine monogram detailed in my post here). We printed out a version of the monogram on clear acetate that I could lay on top of clothing and sketch the outline shape with chalk. I then painted the logo in different shades, with plenty of smudges for good measure!
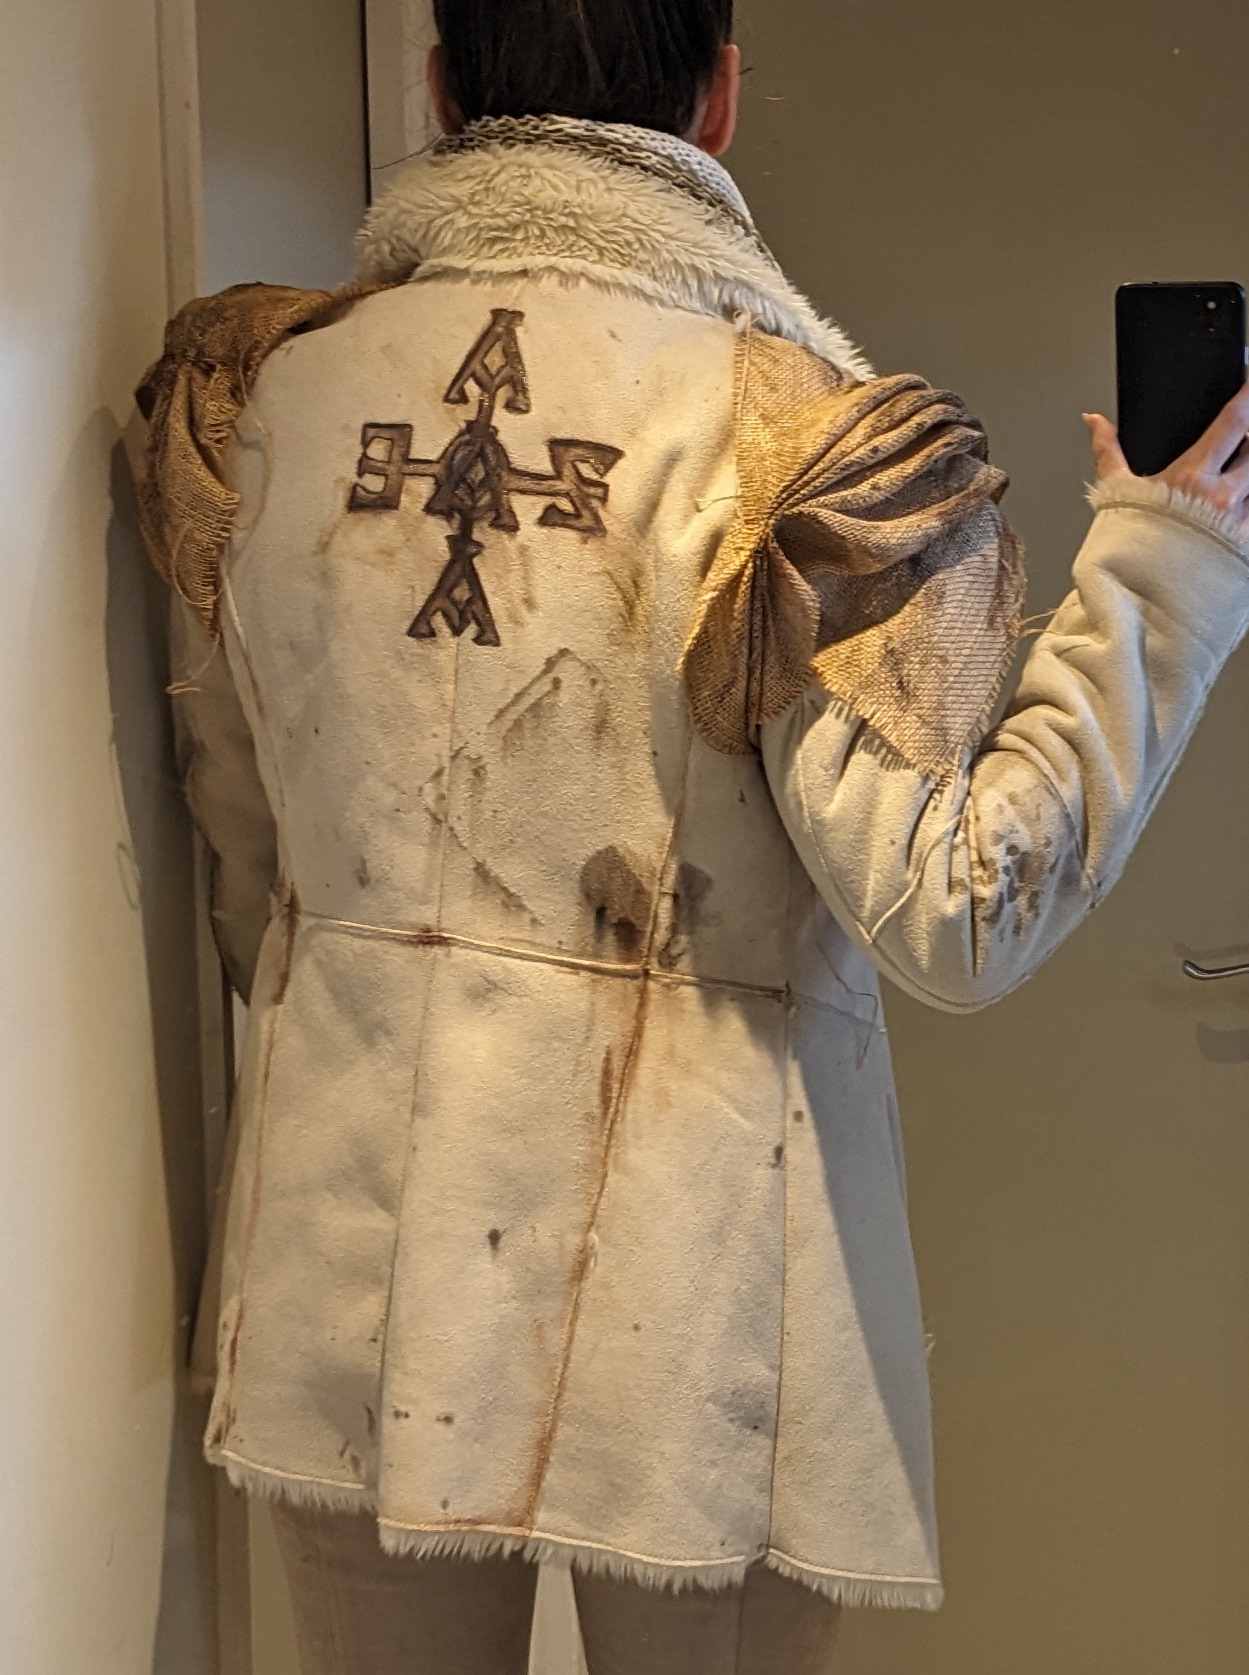
Distressing and adding our monogram to my festival coat (it’s the right way when not viewed in a mirror!)
Look: Wasteland Bridal Chic
A wedding party at Wasteland Weekend called for an epic outfit! There is, of course, a precedent for bridal fashions, as worn by the concubine bride characters from the Fury Road movie, clad in beautiful swathes of white flowing fabric. While lovely, this just wasn’t my style, nor my story!
The gown is so precious that the bride must be locked into it via a harness…
I decided on a different story behind my look: the wedding dress was a treasured heirloom belonging to my Tribe, meticulously saved from the world that once was, and brought out to be worn by honoured warrior brides through the generations. The gown is so precious that the bride must be locked into it via a harness, to protect the wearer from the theft of such a valuable item, and as a symbolic reminder of their status as protectors of the Tribe. It would, of course, also look cool AF!
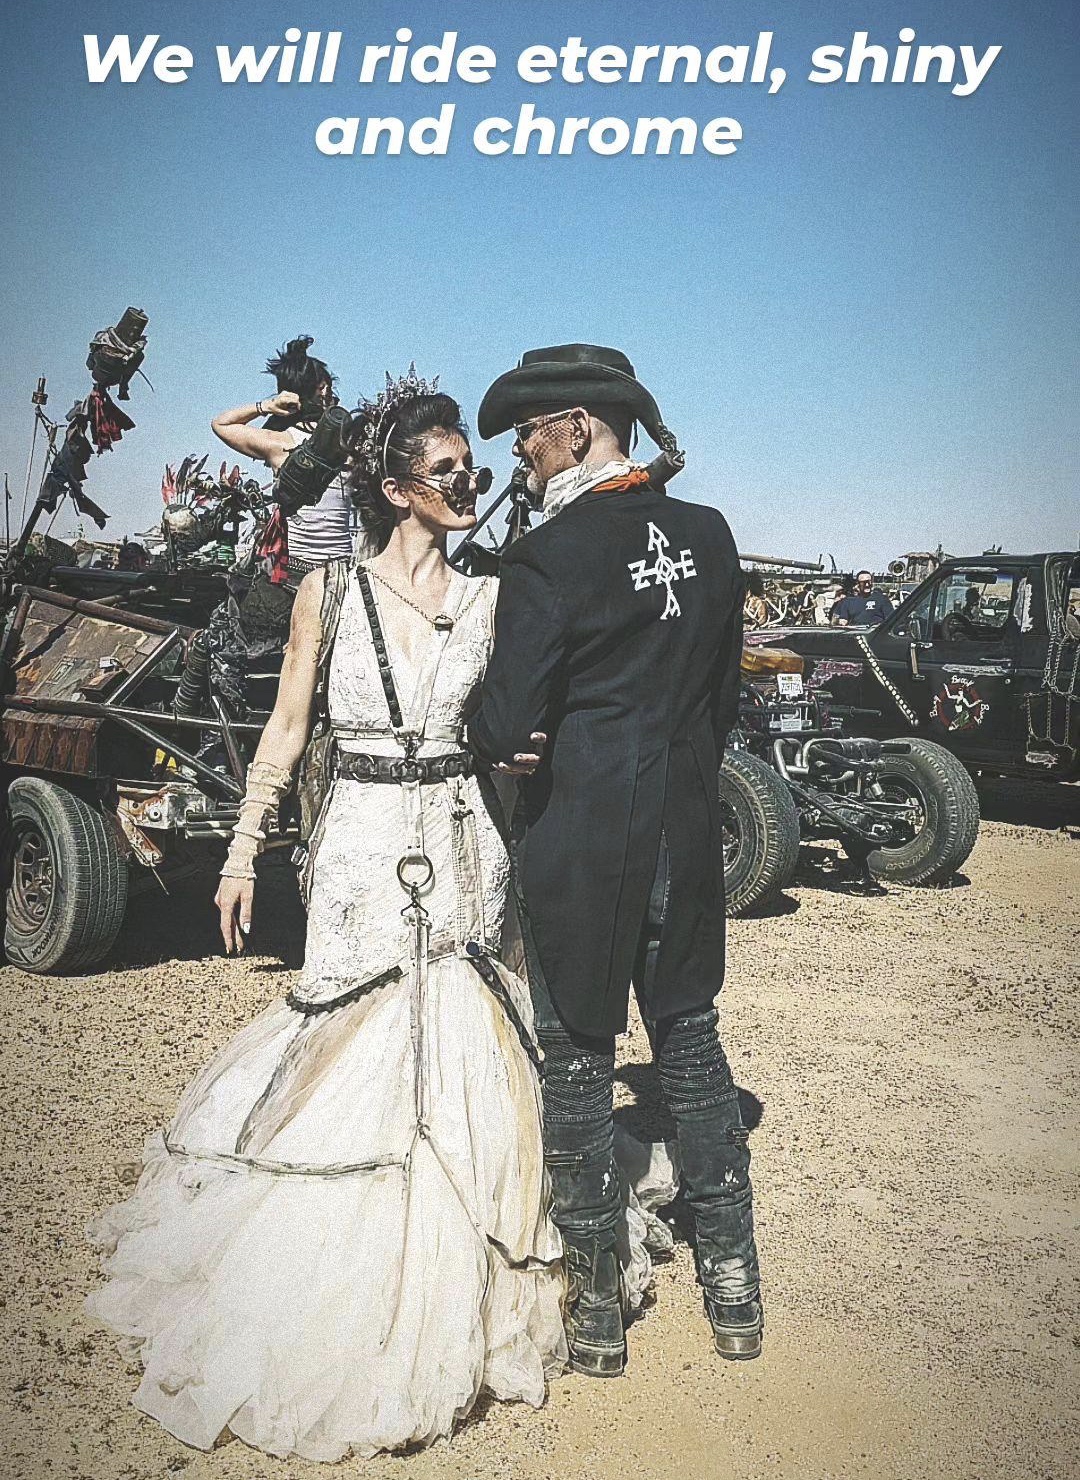
Wedding glam in the Wasteland
To realise this vision, the process began by sourcing a second-hand wedding dress from Vinted (a bargain for £70!). This gown was gorgeous: a tight bodice with pleated tulle overlay and lace applique, all textures that would pick up distressing really well. The skirt was an asymmetrical mermaid shape, which I loved as it allowed for movement so I could walk around the site all day and night, with lots of volume and a long train for maximum drama (why not!).
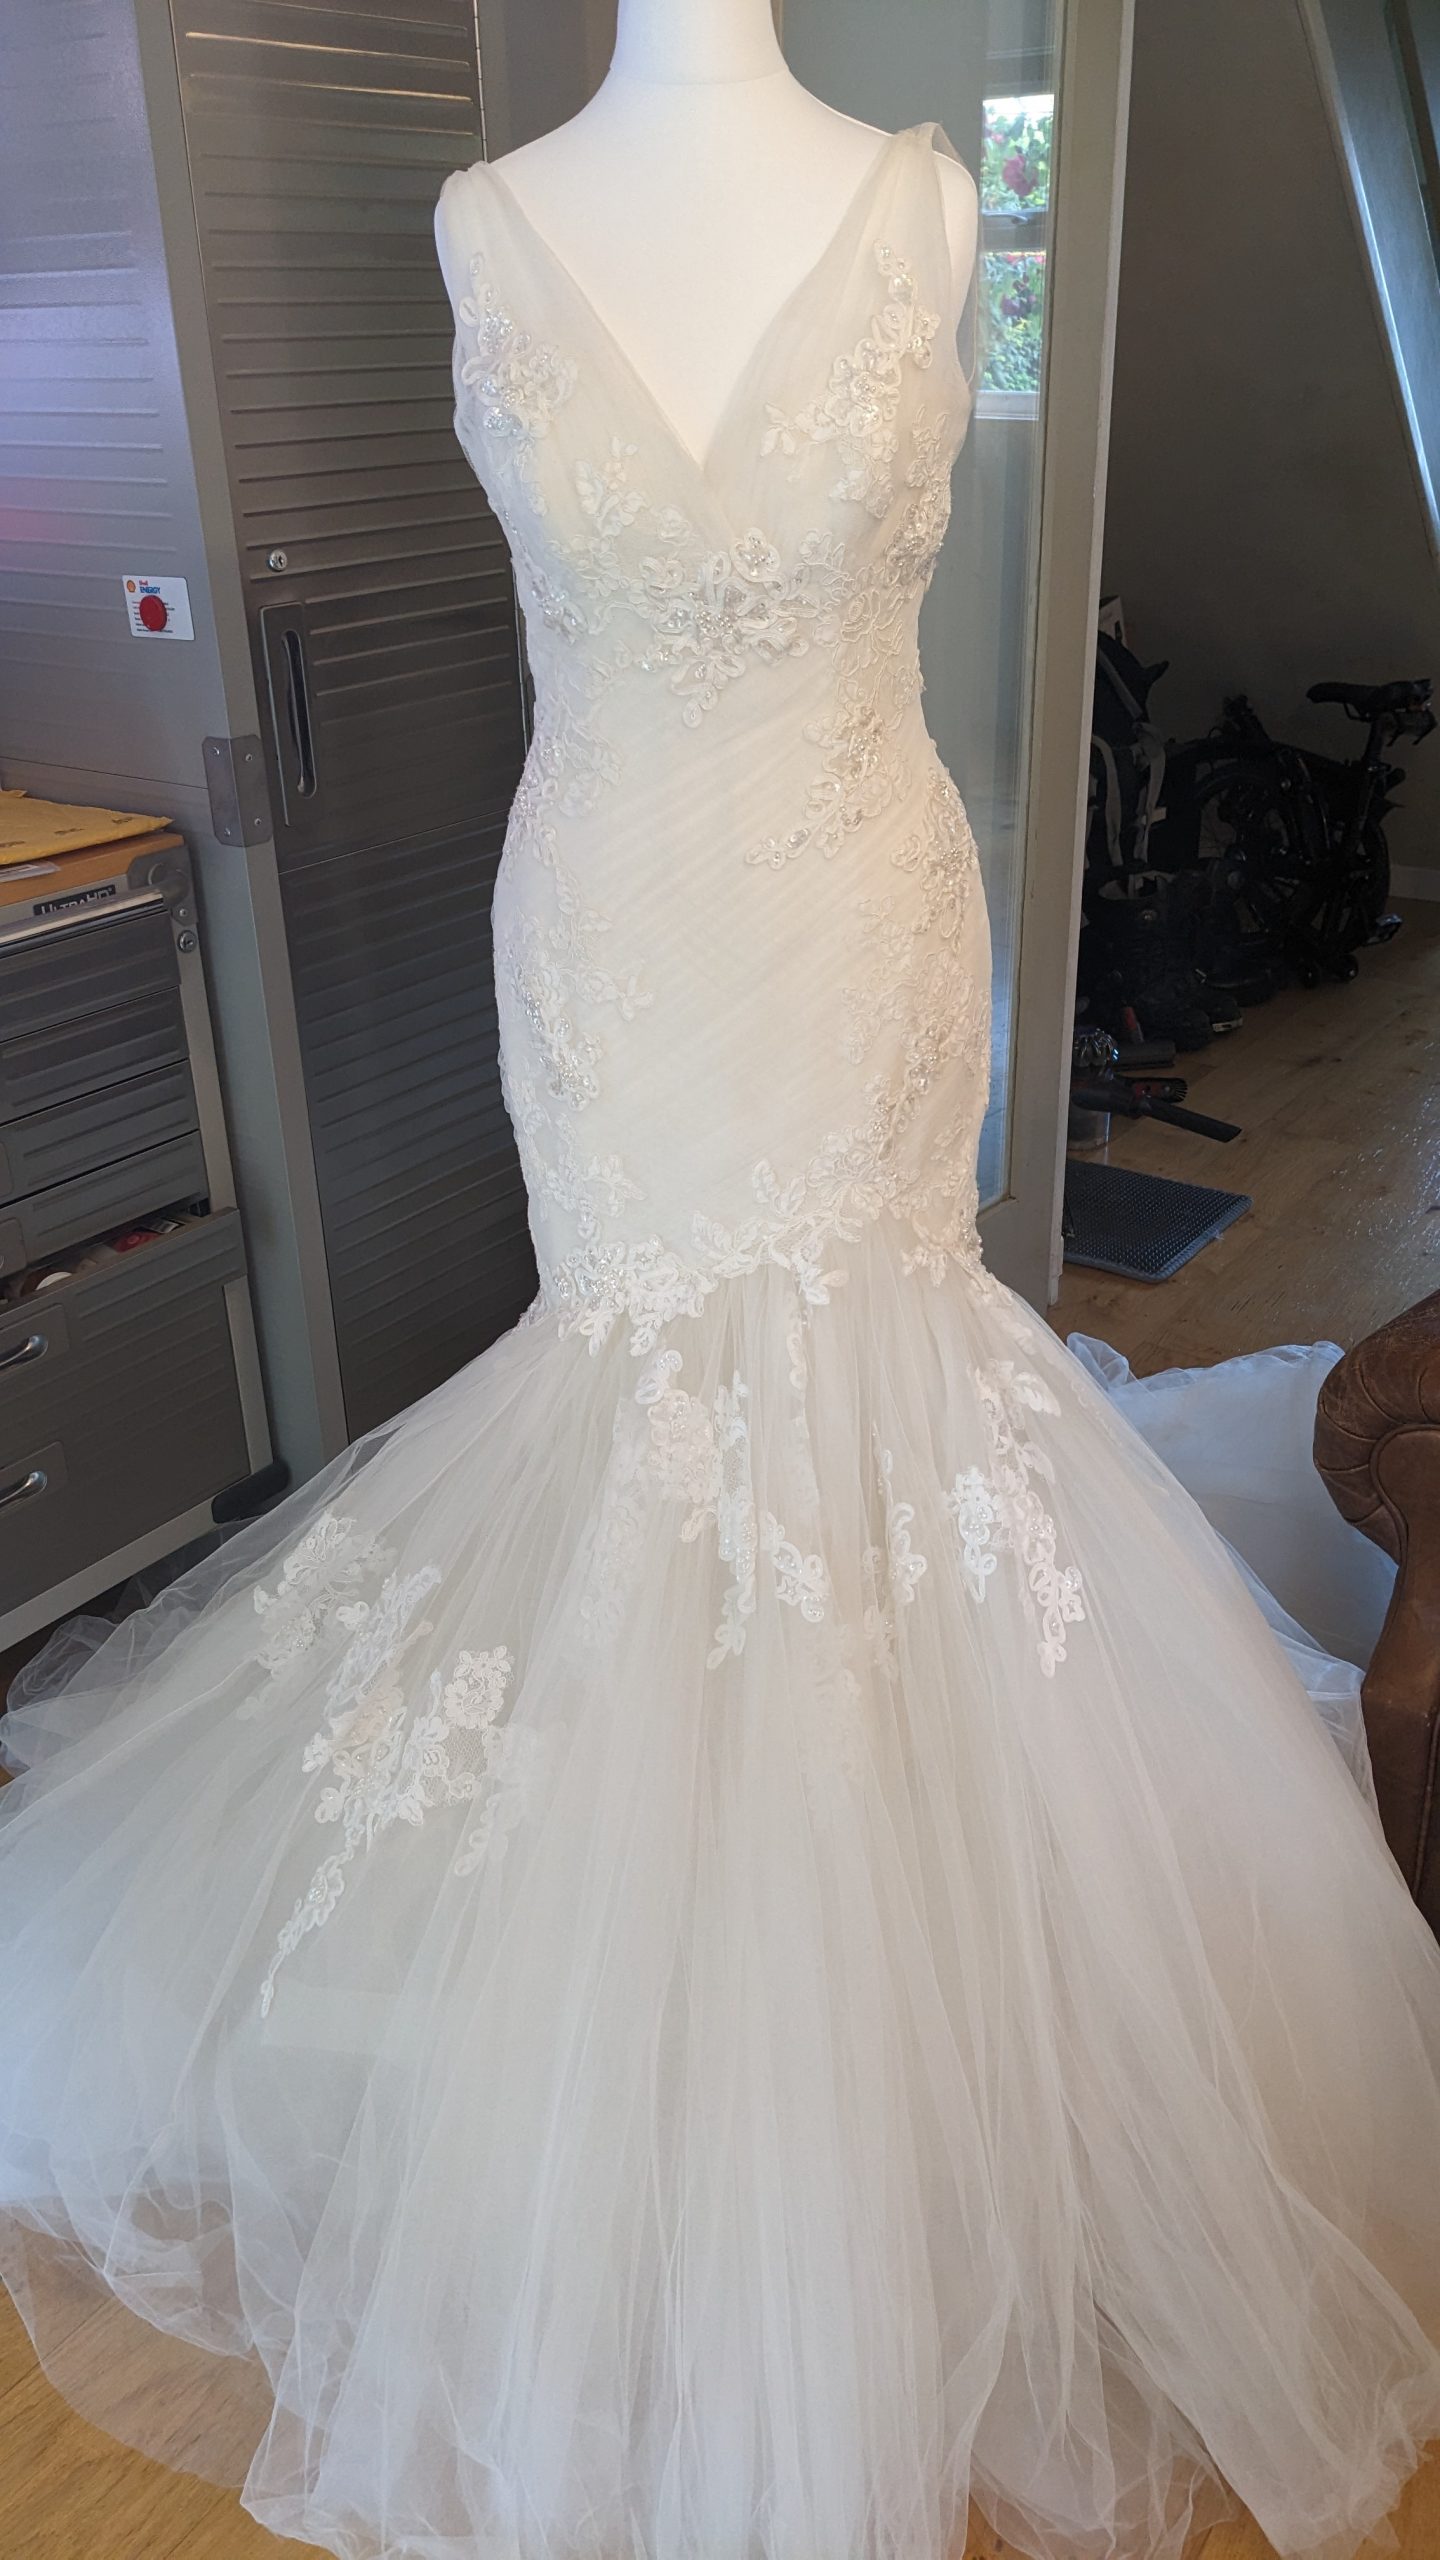
The original dress – it’s about to get messy!
I used several techniques to distress the dress: creating bags of wet coffee grounds, dabbing on the fabric, and then dragging the colour across the pleating to emphasise areas of wear-and-tear on the hips and around the armpits and neckline. I also added paint, starting light and getting darker, but only using a small amount of black paint to indicate an oil stain.
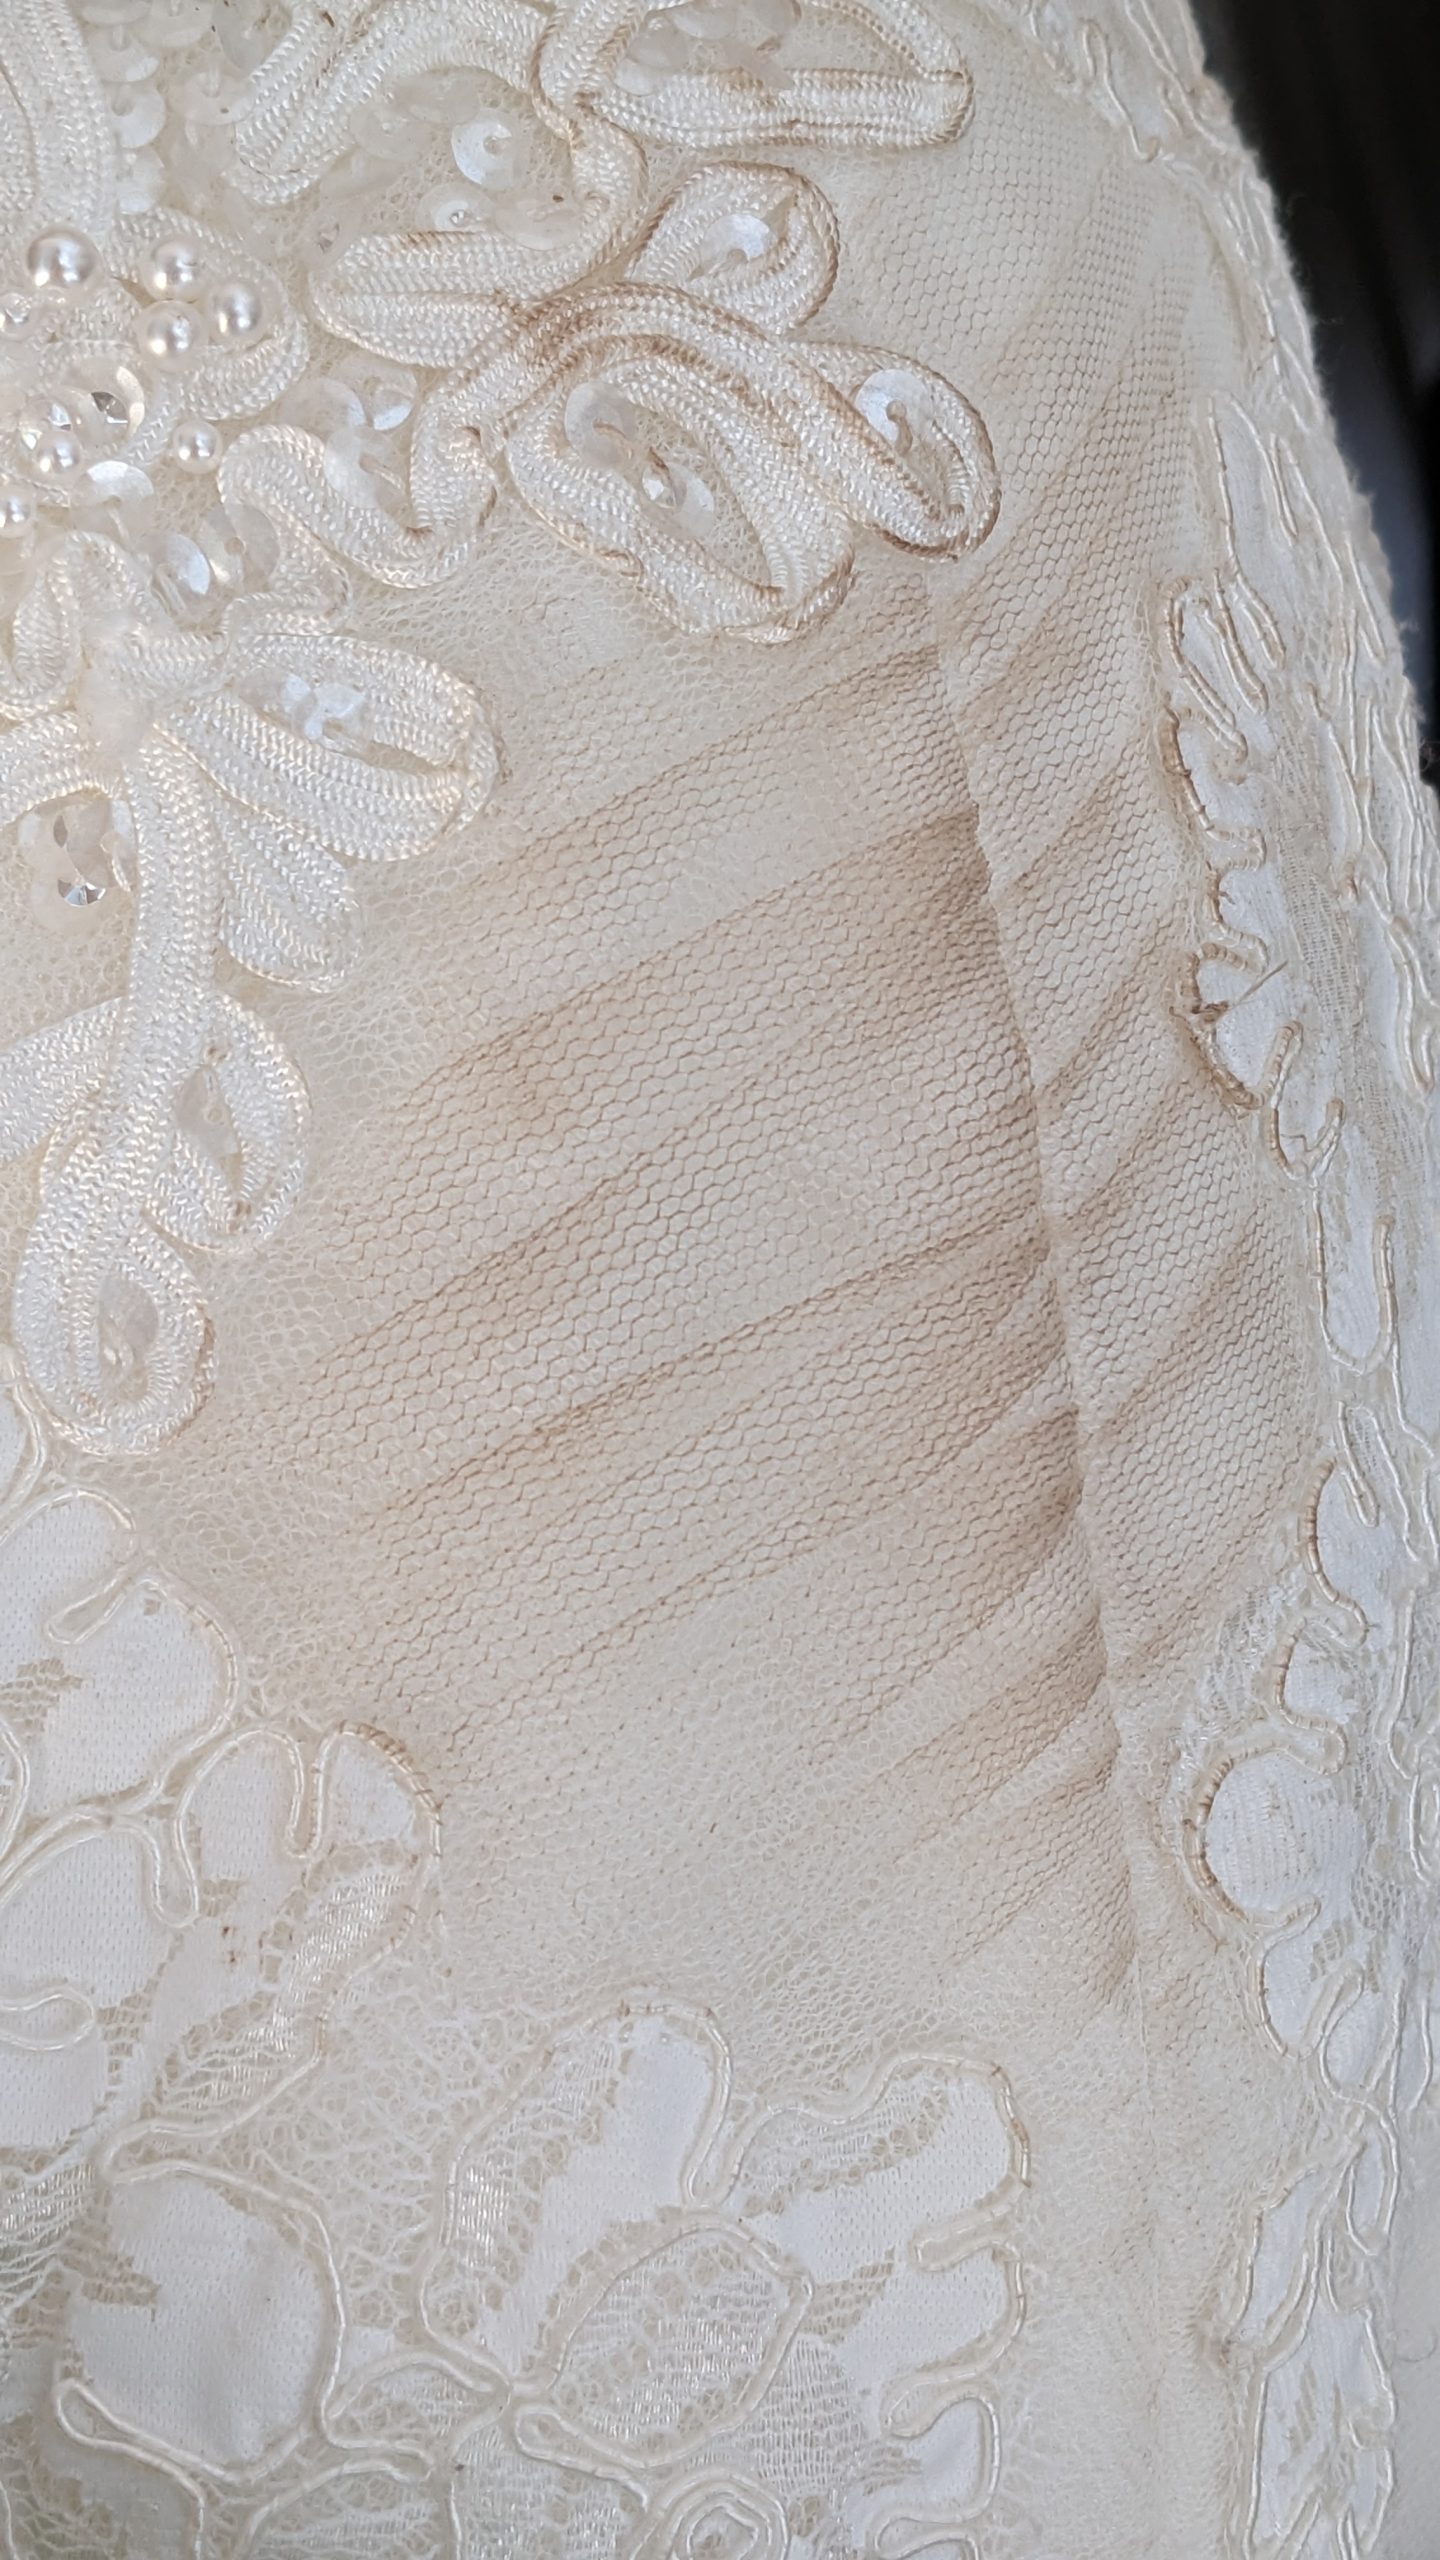
The first stage of “Wasting” the dress
The train area was the most difficult to stain due to the synthetic and porous fabric, so I opted to attach some different coloured tulle (sand, beige, rust red) underneath the first layer to give a hint of colour underneath. I also shredded and tore the train, cutting out some of the length and volume so that I wouldn’t trip wearing it, and so it would fit in my suitcase!
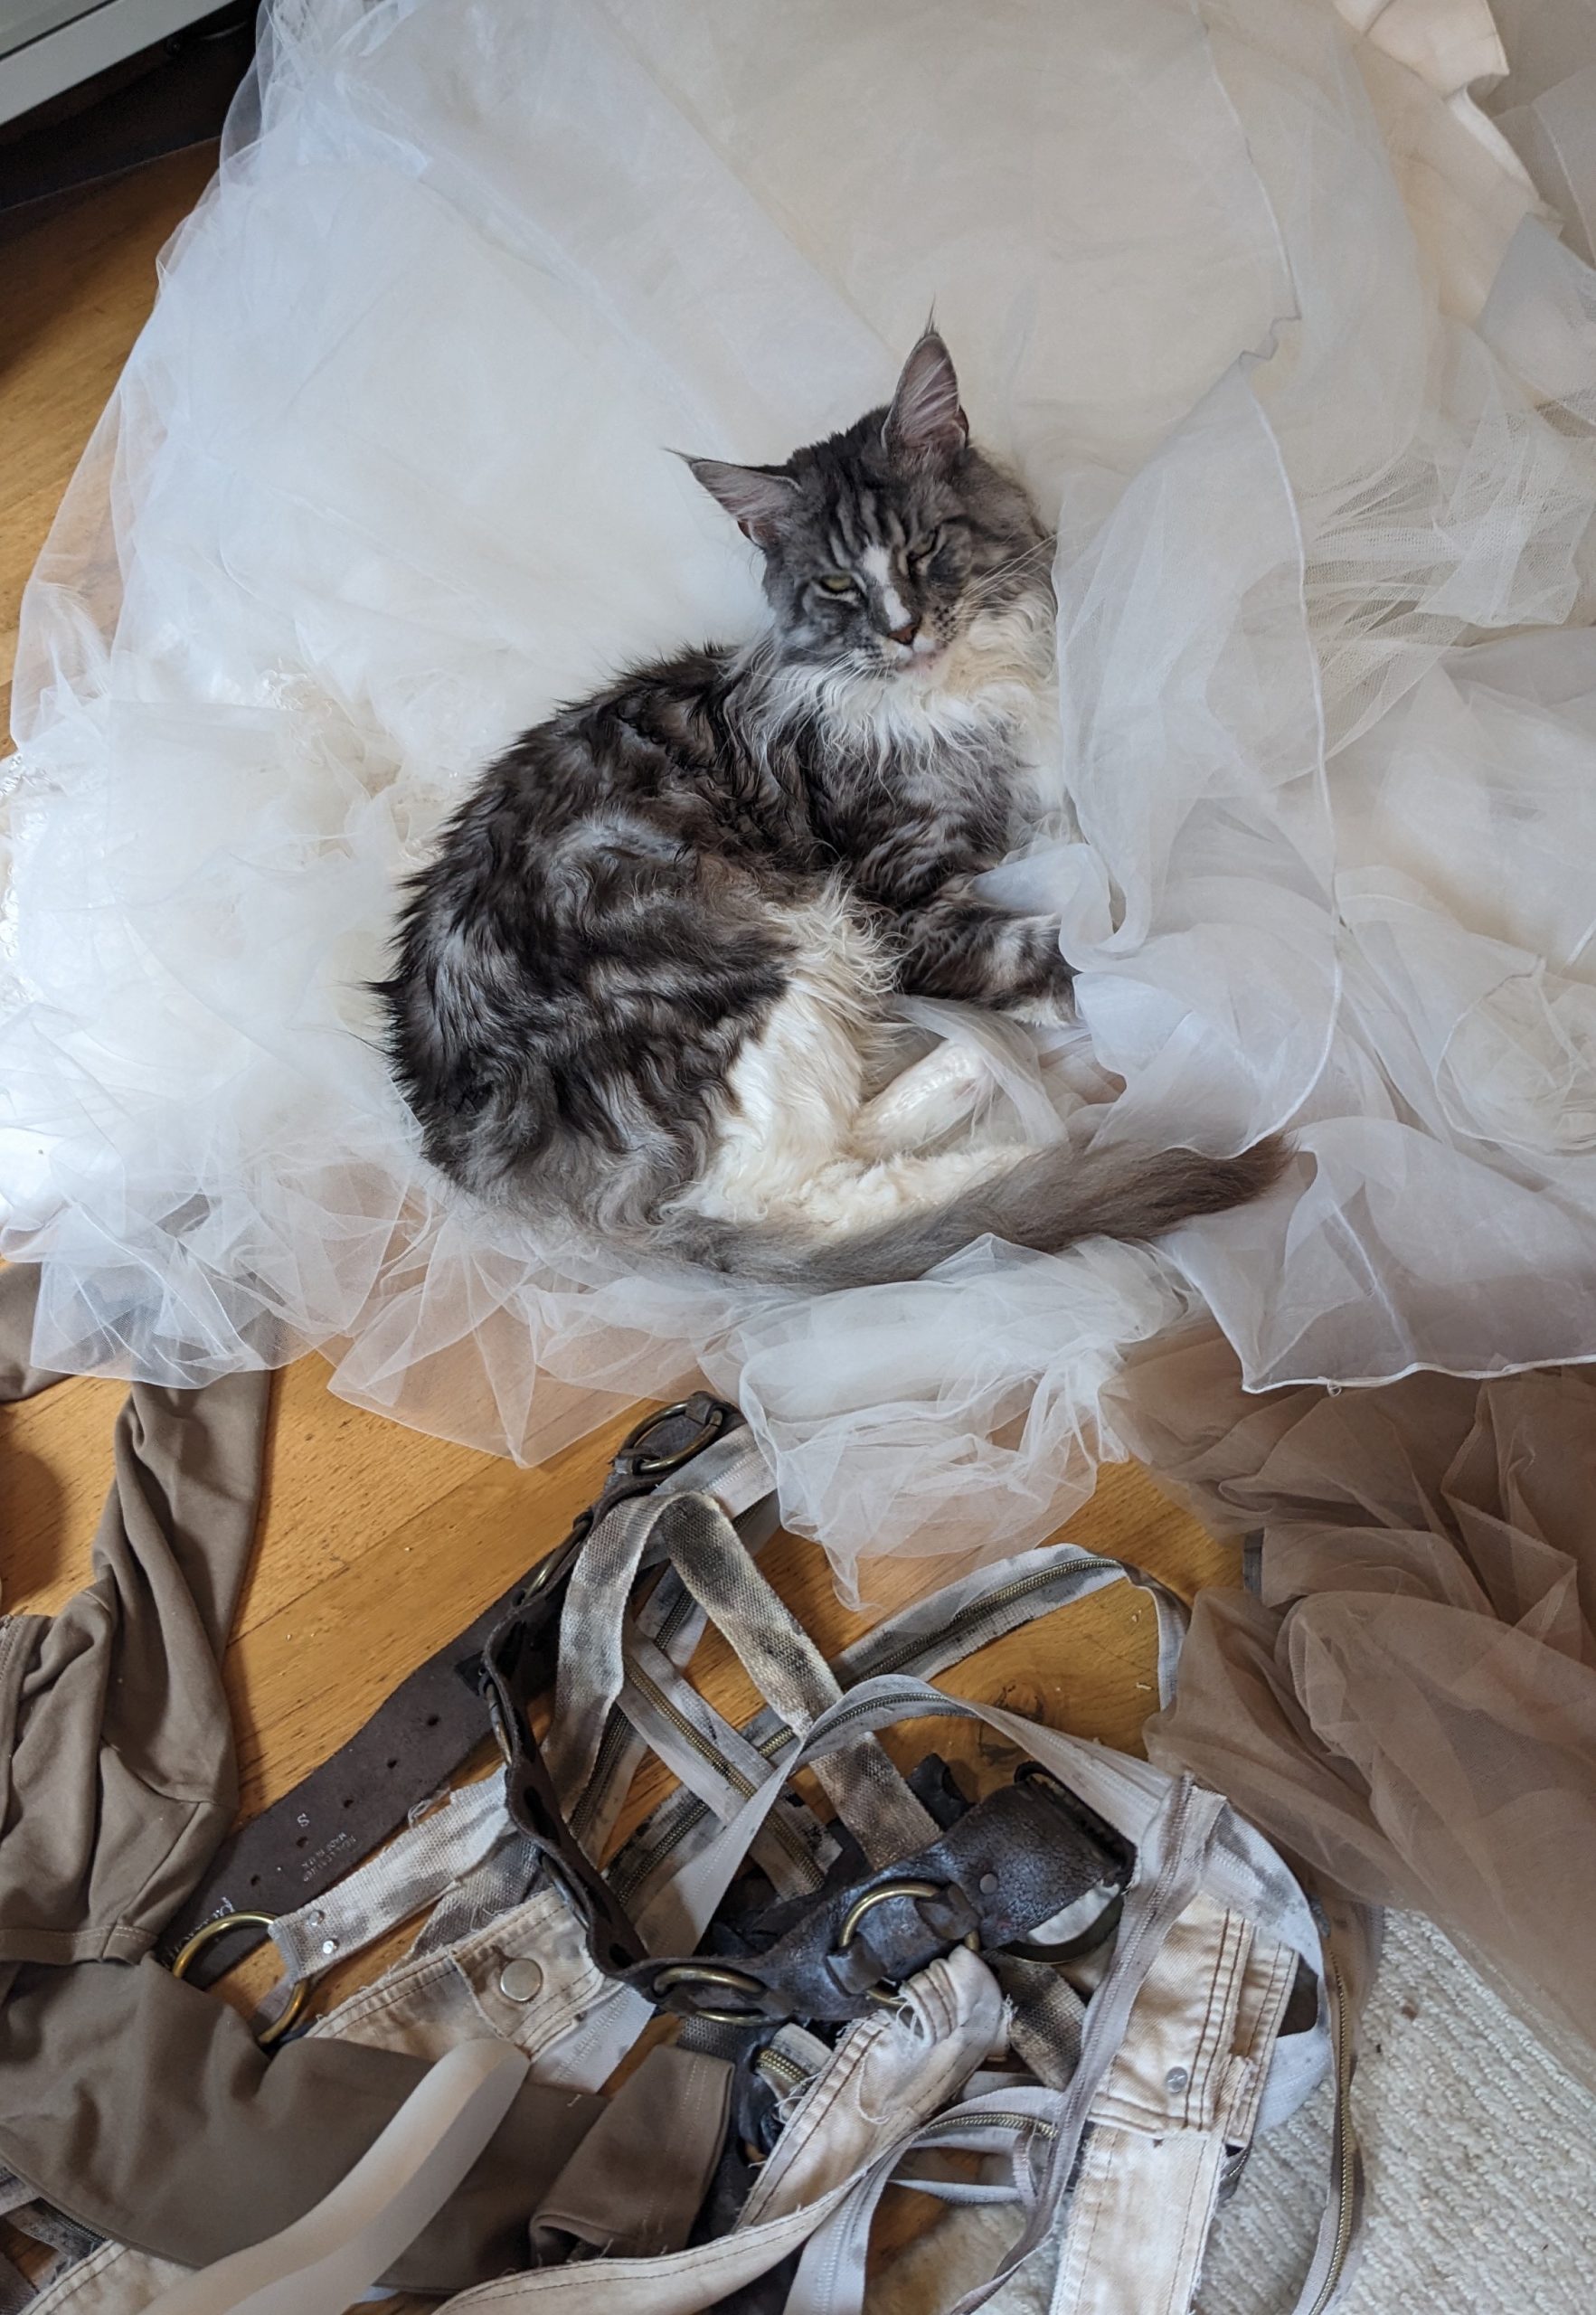
A key part of the Wasting process: Sterling the cat!
The harness was another challenge. I sketched out a shape on paper and then cut strips of newspaper to make a pattern on my mannequin. I could then play with shapes and adjust the fit on a pretend body. To create the final harness, I started with a chunky, leather belt to sit at my natural waist. This emphasised a flattering line, but it was also a practical detail to bear the weight of the other straps and was fitted out with handy O-rings to attach things to.
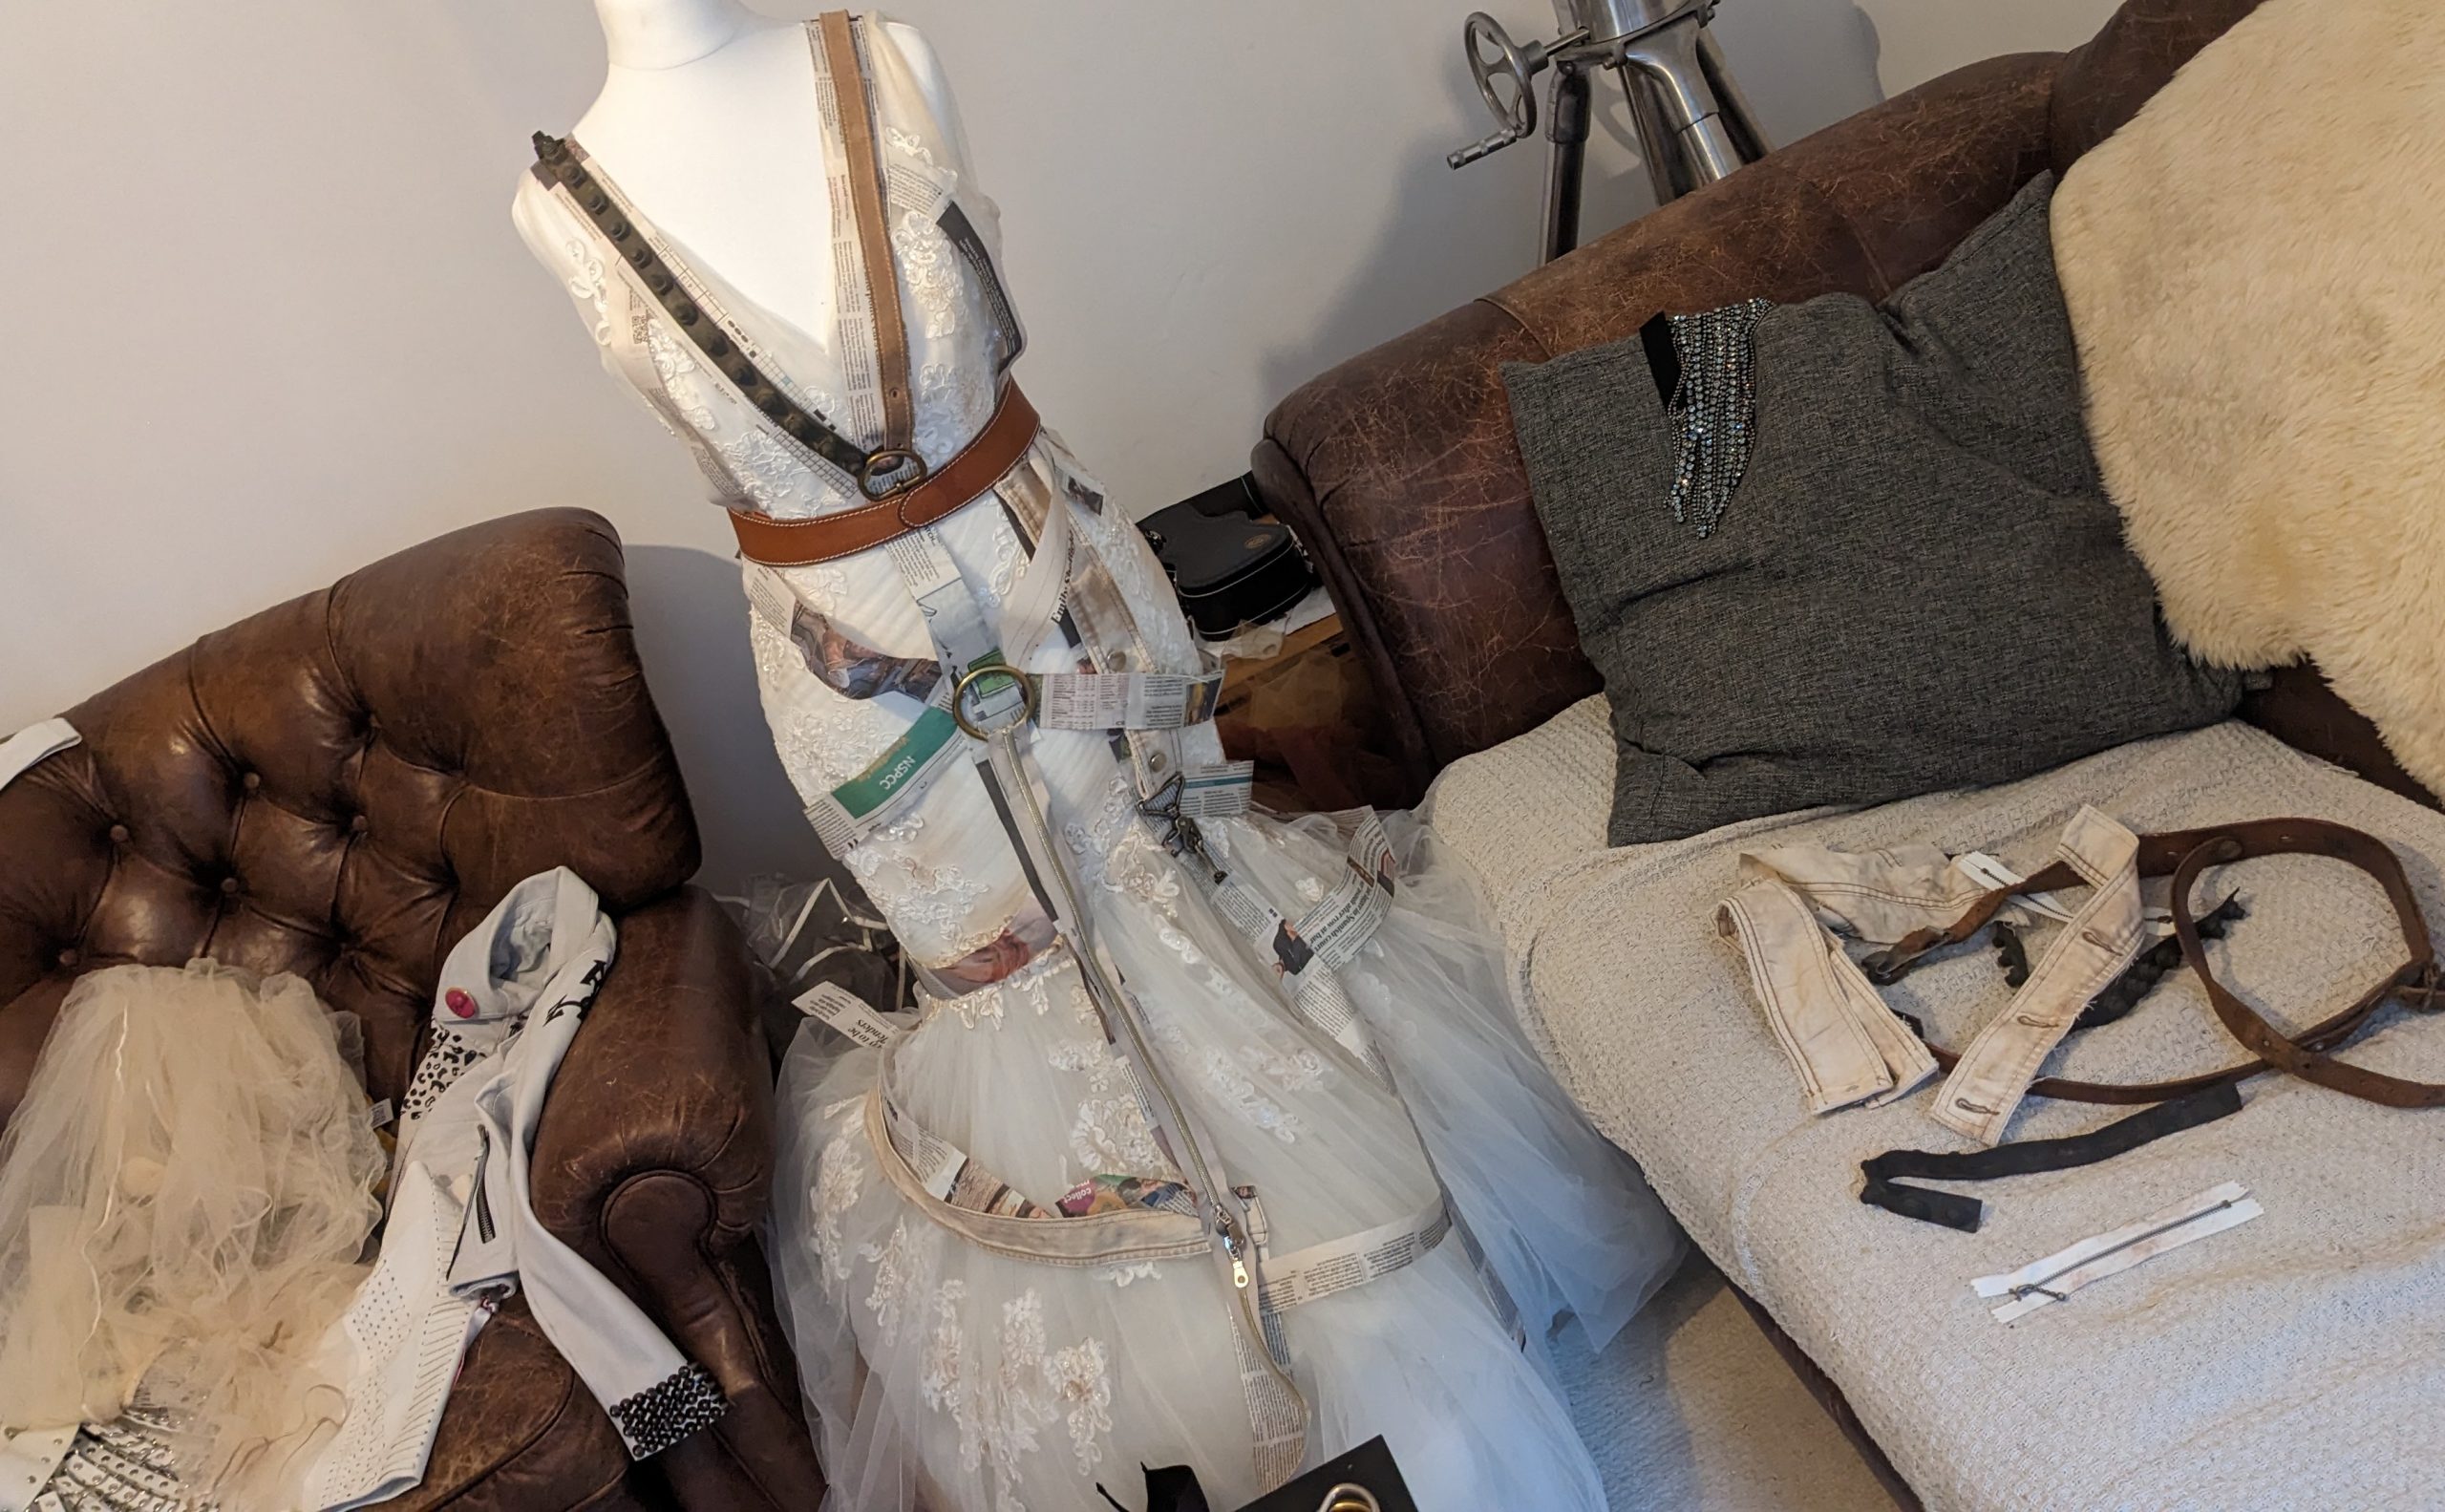
Patterning and starting to build the harness
I created the harness using thrifted cotton strapping, lengths of continuous bronze-coloured zip tape, and created others by cutting up a beige utility shirt into strips (bought off Vinted for £1 as it had a rip in it- perfect!). I then went to town “Wasting” the materials using paints, distressing the edges, adding metal rivets, and attaching lengths of recycled rubber bolts (originally from my husband’s broken flip flops!) with safety pins. I cut them to length using my paper pattern, attached them together with repurposed buckles, D-rings and O-rings from our recycled materials sewing box, and built the harness on the mannequin- things were starting to come together!
I had to incorporate a vehicle reference at Wasteland Weekend…
The final touch for the harness was two recycled white tyres from children’s bikes found on eBay– because I had to incorporate a vehicle reference at Wasteland Weekend! I bent them in half, utilising the wires inside the tyre edges, added paint to distress them, and positioned them so they hung at my hips to give a 3-D element to the outfit. These were not easy to transport to the festival, and I didn’t wear them all day due to the weight, but I’m pleased with the drama points they added to the final outfit!
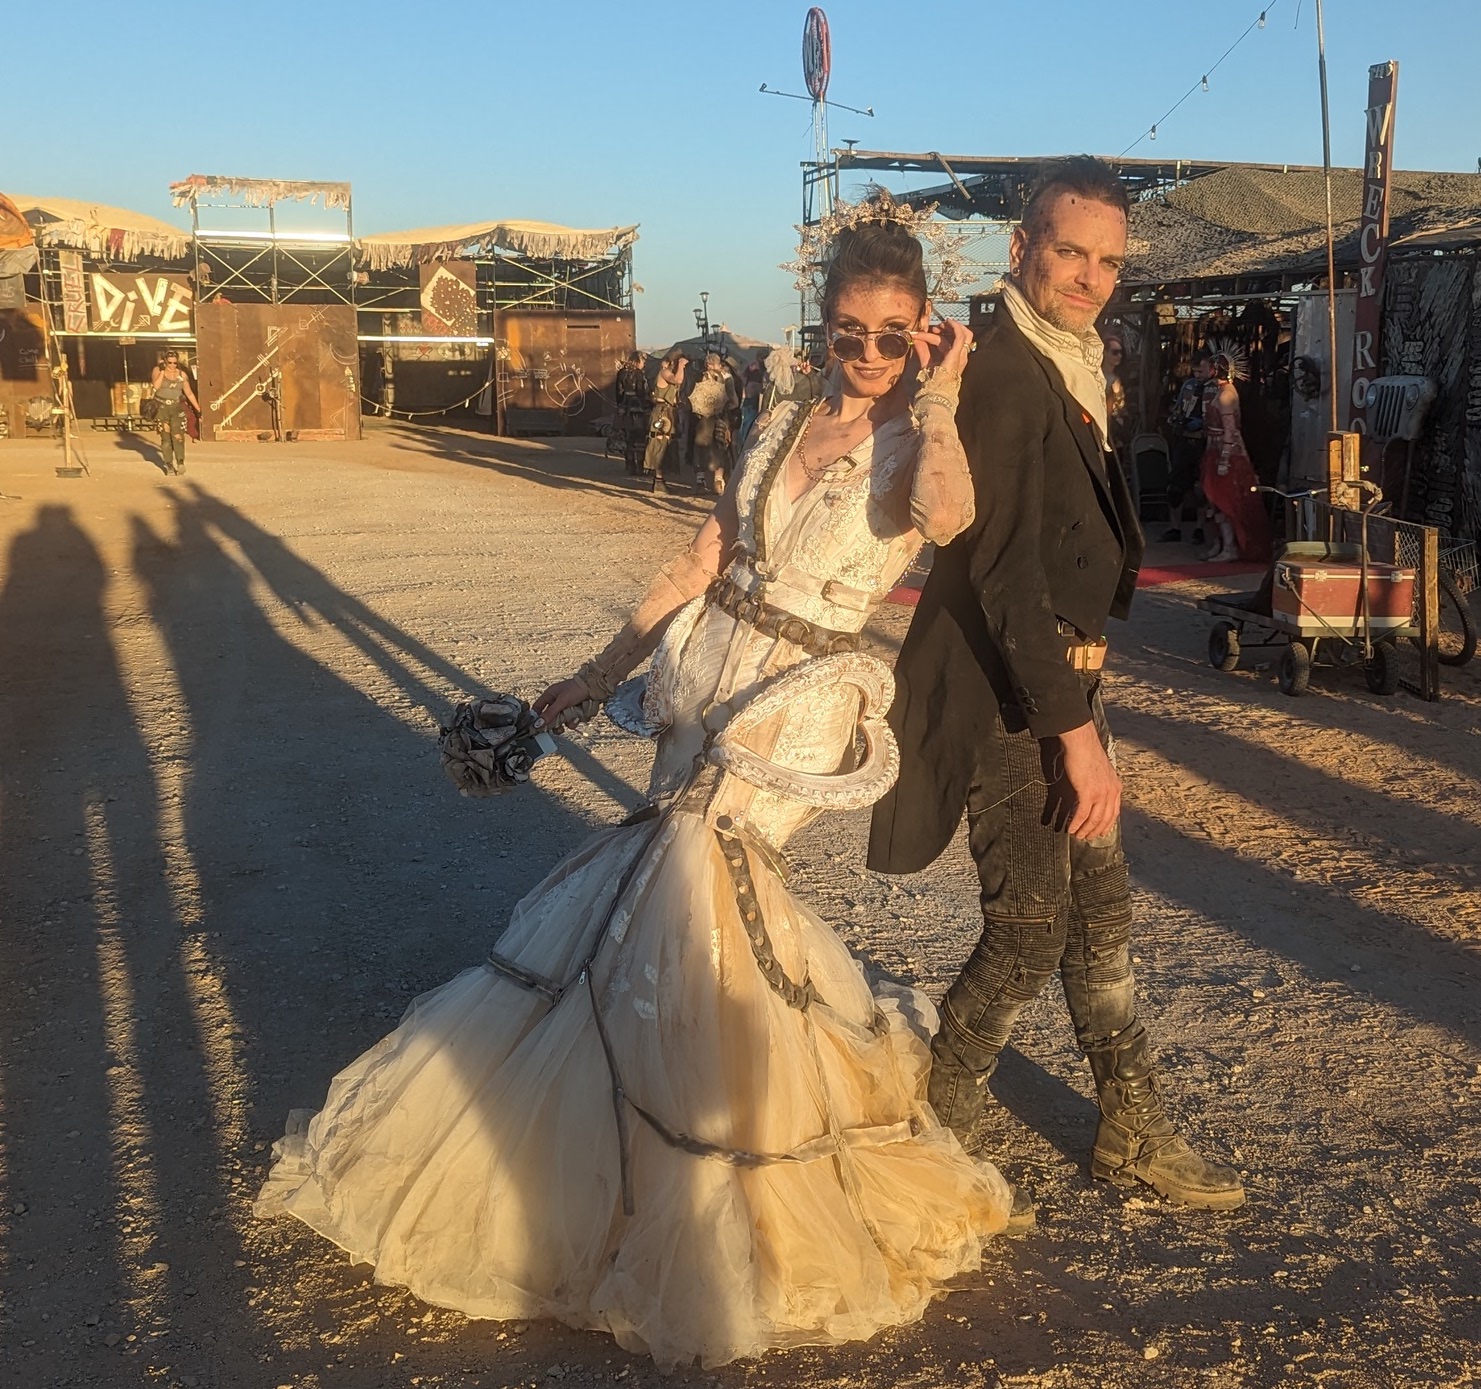
The Bride and Groom
Look: “A day at the (endless) beach”, Wasteland style!
My final outfit was a play on a look that you might see in Ibiza, and indeed, the feature piece was one of those classic “stringy” beach cover-up dresses! Naturally, I set to the dress with scissors, cutting up the side to create a very high split, added coffee staining, paint splatters, and a length of leather strapping woven in and out of the layers for some extra detail.
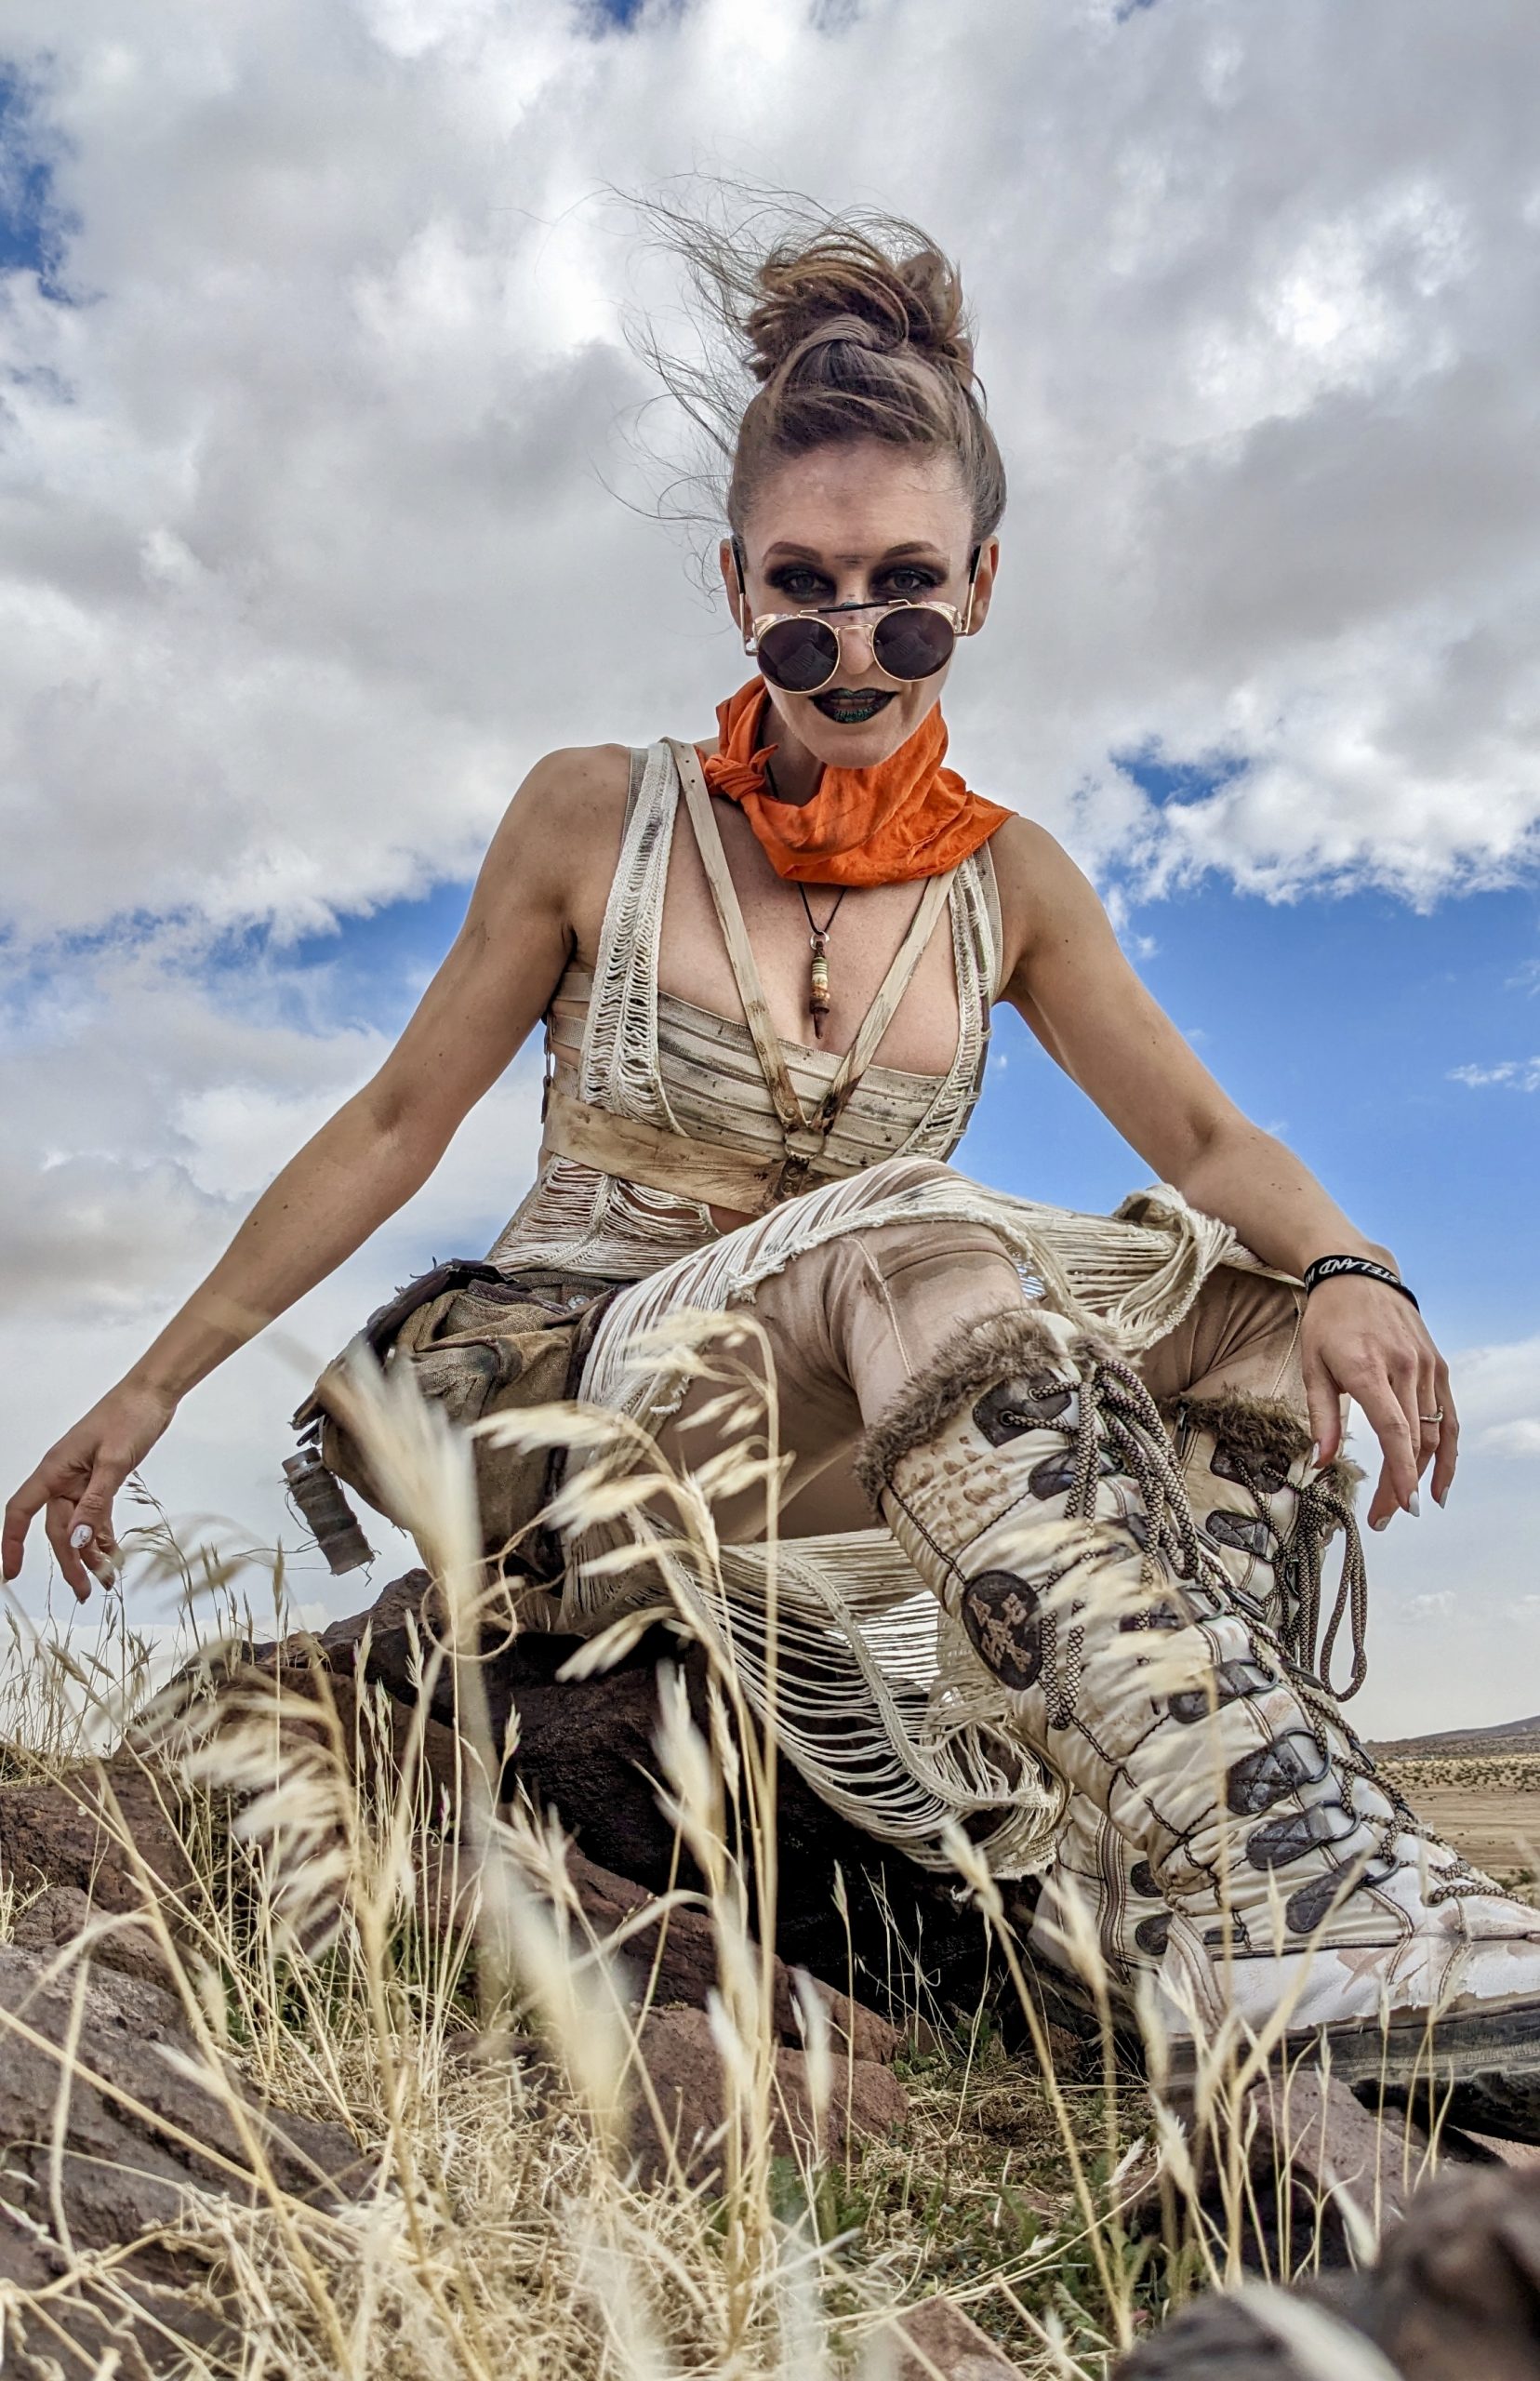
Desert chic (probably the most insane timer selfie I’ve ever taken!!)
Of course, I accessorised with a harness that I distressed and wore backwards, as I liked the “V” neckline effect better than vertical straps. I also bought a pendant at the event made from a rusty spark plug that worked perfectly with this outfit, and finished things off with a borrowed orange bandanna from my husband for some contrast. I designed this outfit to be flexible depending on the weather: I could wear the dress over just a bra top and shorts if it was very hot, but in fact, we had a relatively cool day, so I wore it over my evening leggings.
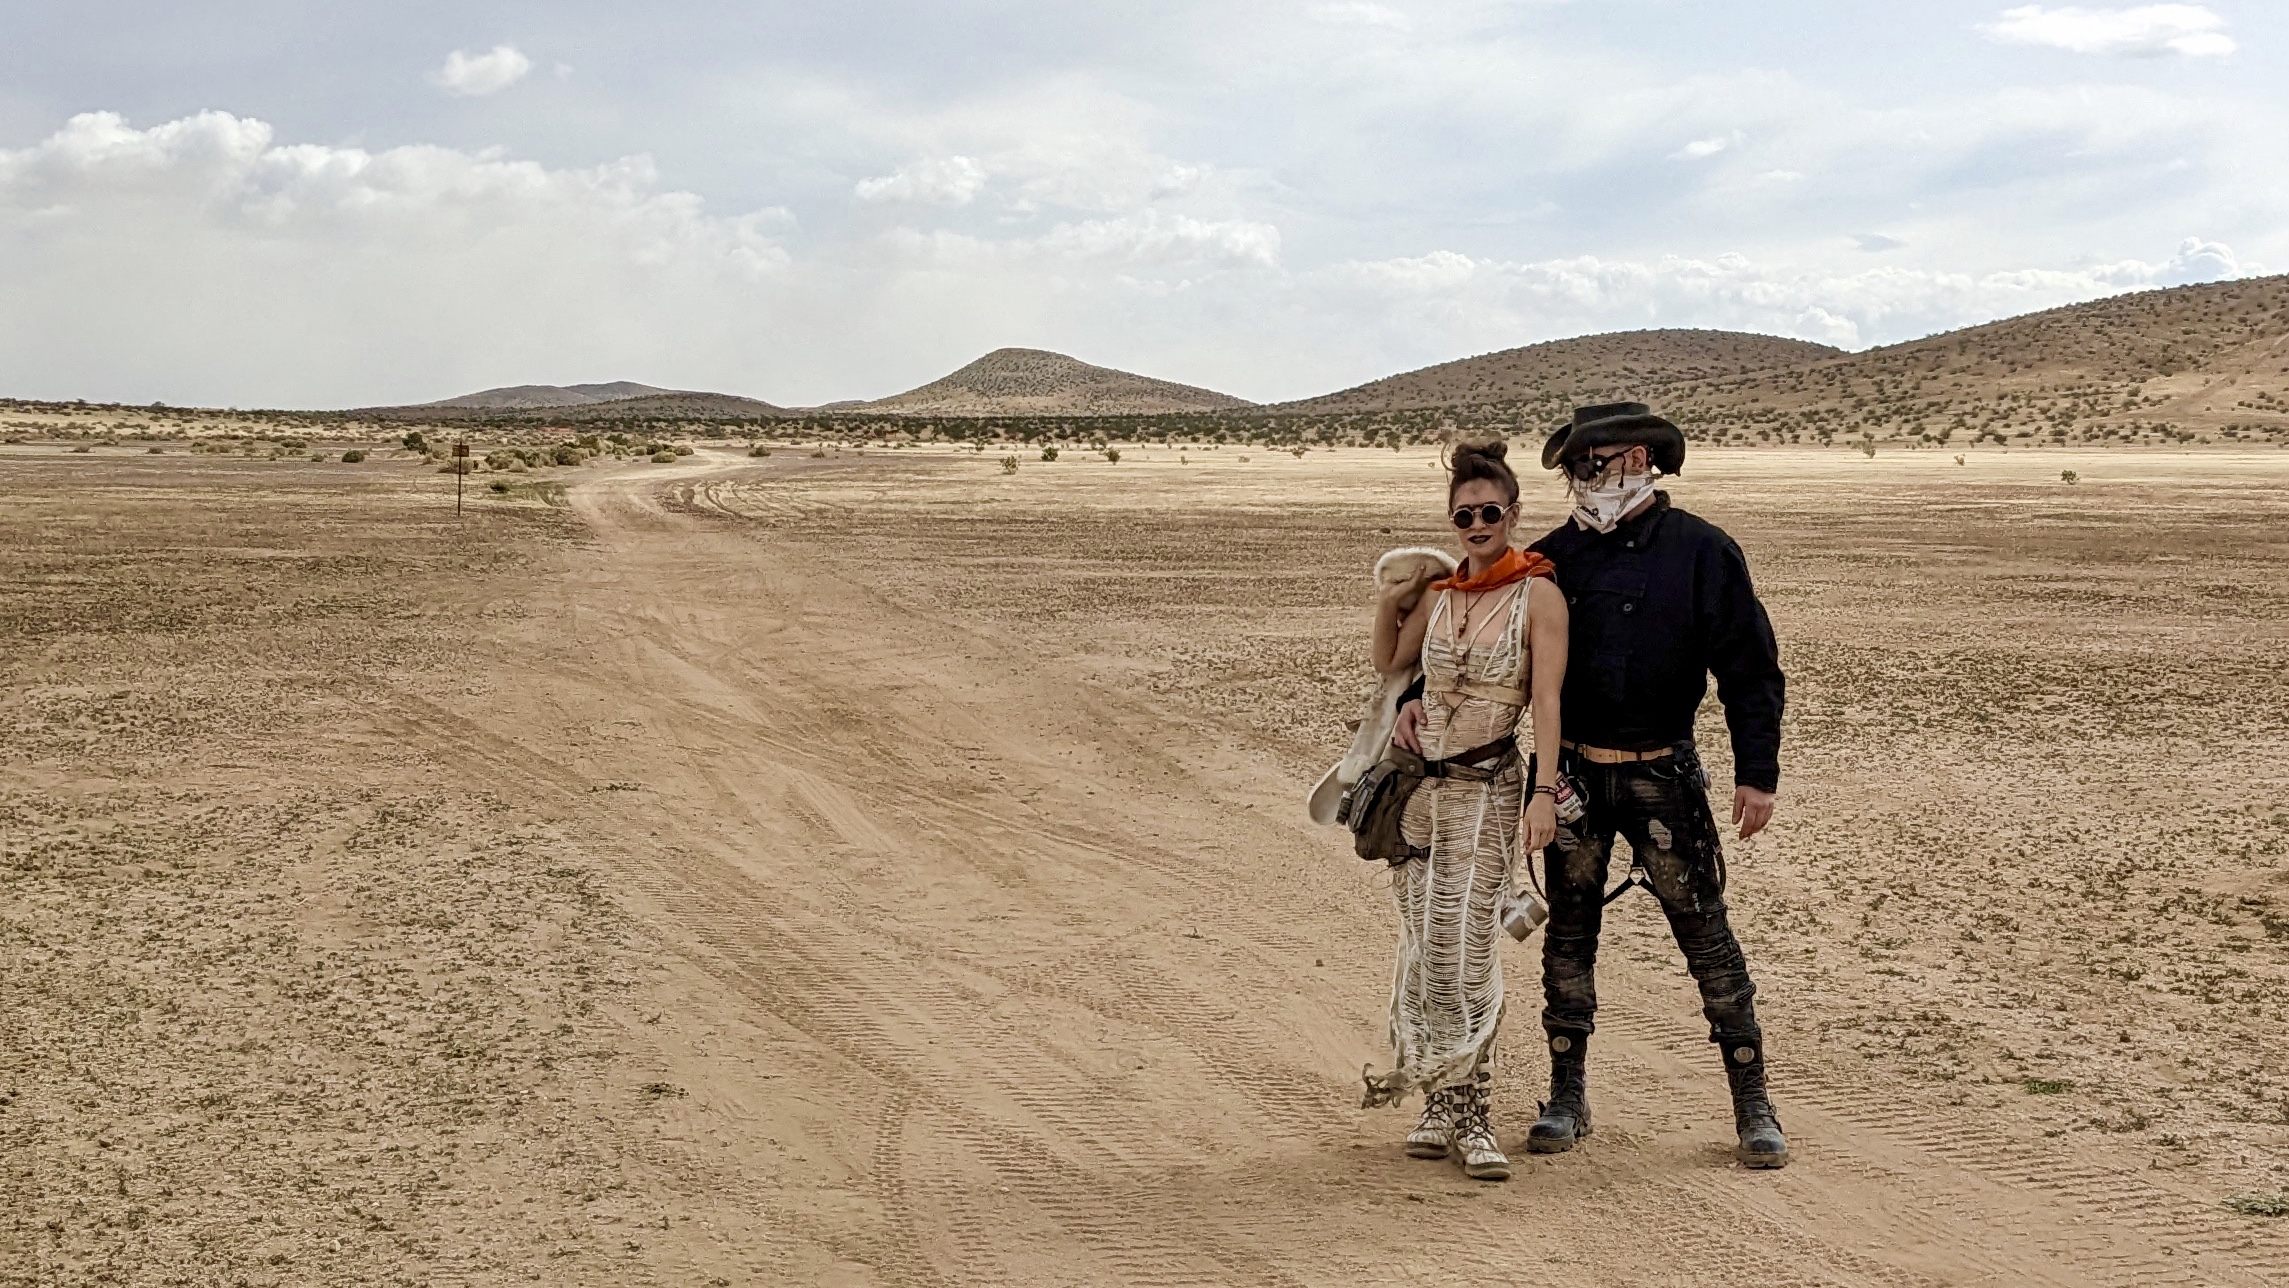
A day at the (endless) beach!
the left sole completely fell off!
Hilariously, the boots I customised and wore here (and throughout the event) were actually snow boots! They were handly for their rugged soles, comfort, and the light colour I was going for, but while the faux fur lining and insulation worked well at night, they was quite warm during the day! They ultimately fell apart on the last day of the festival (they were £8 second-hand off Vinted so already pretty worn), and just after taking the photo above the left sole completely fell off! We fixed it with duct tape for the rest of the day, which, if anything, added to the look!
Evening looks: Layers to kick-ass in
For evenings dancing to live music, yelling at the raucous Thunderdome, and travelling around to party at various camps, layers were a really good move! The temperatures dropped significantly, so I was sure to have a long-sleeved underlayer, a padded gilet, a light jacket, and a thicker coat, all Wasted and ready to go…
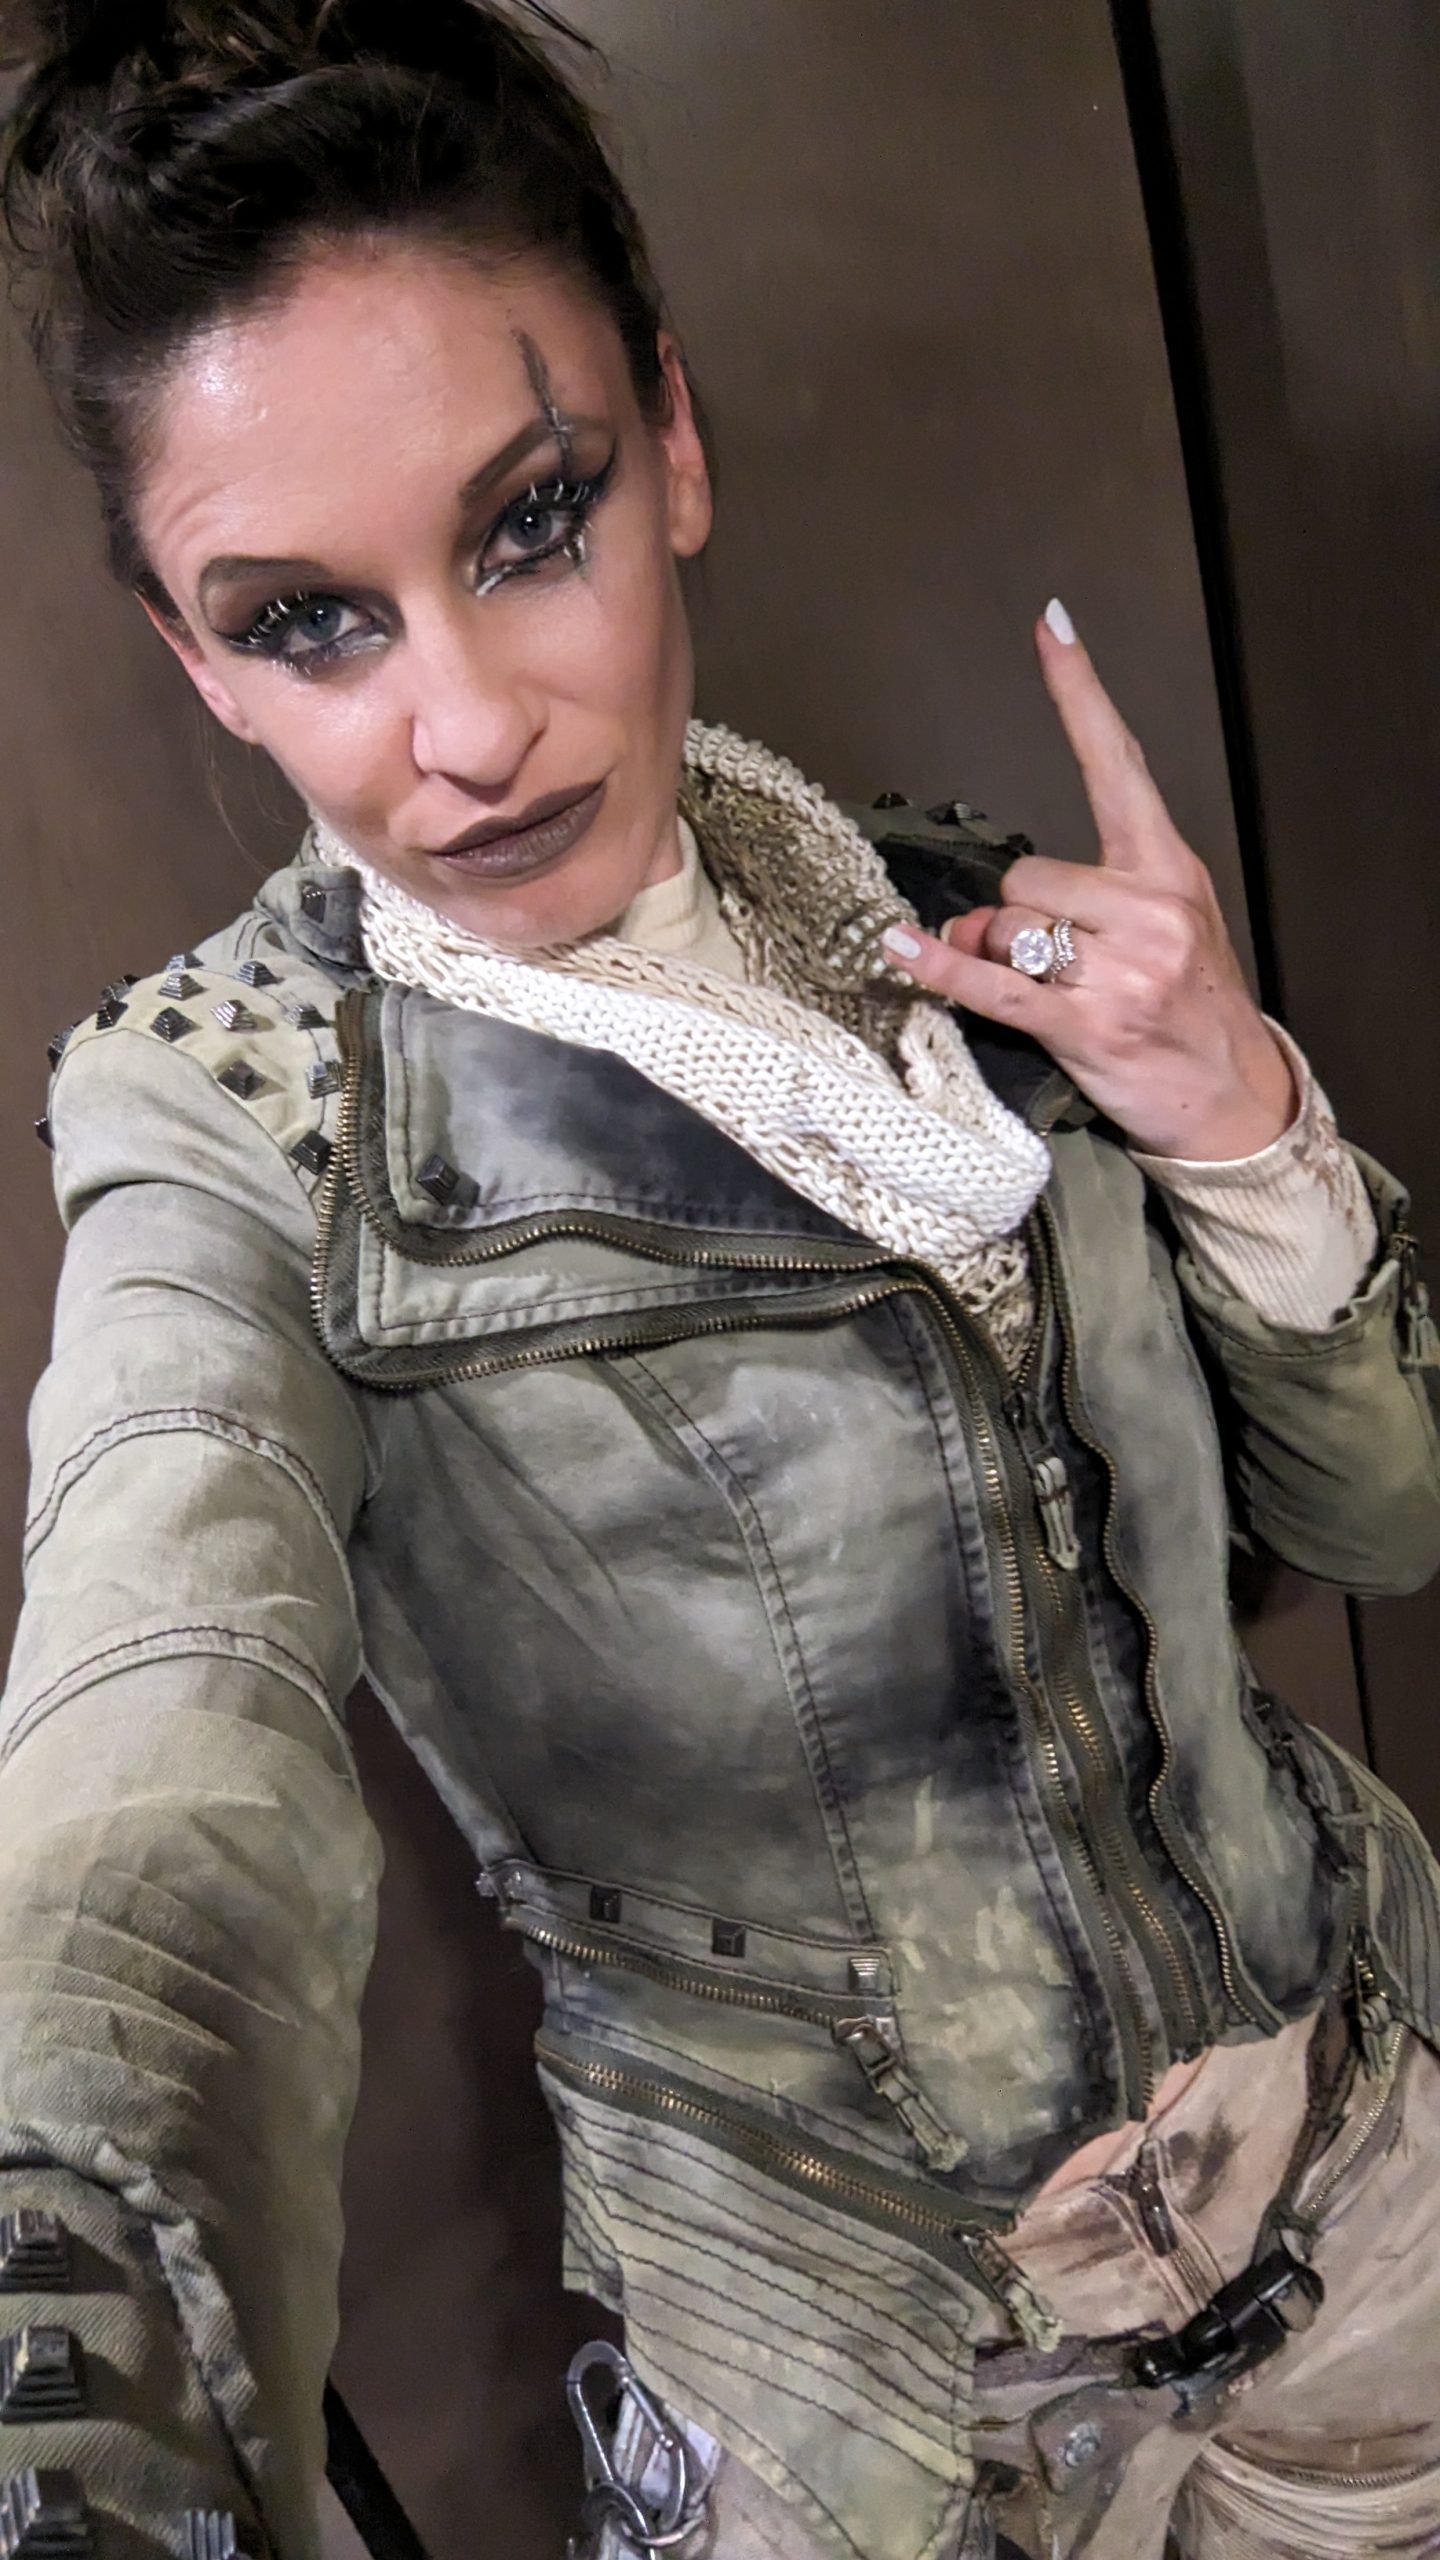
Evenings in the Wasteland
My lighter jacket (£11 second-hand from Vinted) was already pretty distressed, with cool features like zips and studs. I added quite a lot of paint to tint the green tone to yellow in places, and added a large painted wedding logo to the back. I paired this with biker-style leggings with pleated sections that I heavily distressed.
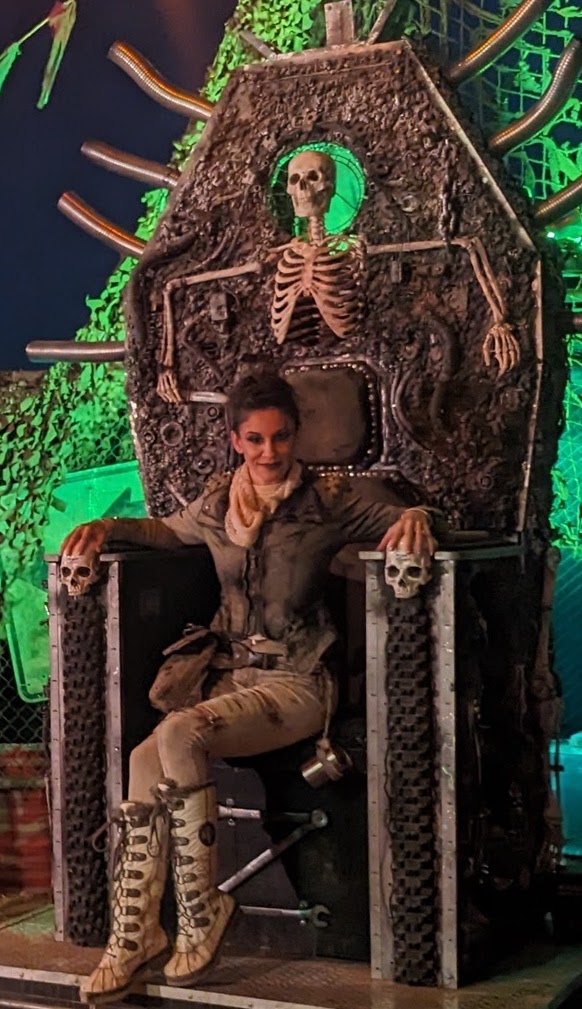
My kinda chair!
Statement shoulders are a consistent theme across the Mad Max universe…
For my warmest layer, I sourced a cream synthetic Shearling-style coat, again from Vinted. I liked the raw, unfinished edges, the oversized collar, and the angled shape of the front lapels. I distressed using paint, picking out the edges of the fur, and painted splodges (that looked suspiciously like cheeky, smudged leopard print 😉). I pinned some distressed zips and rubber strips left over from the harness project, and finally, I added some structural elements. Statement shoulders are a consistent theme across the Mad Max universe, and I created mine by pleating some squares of burlap fabric, and literally attaching them with safety pins. I loved it!
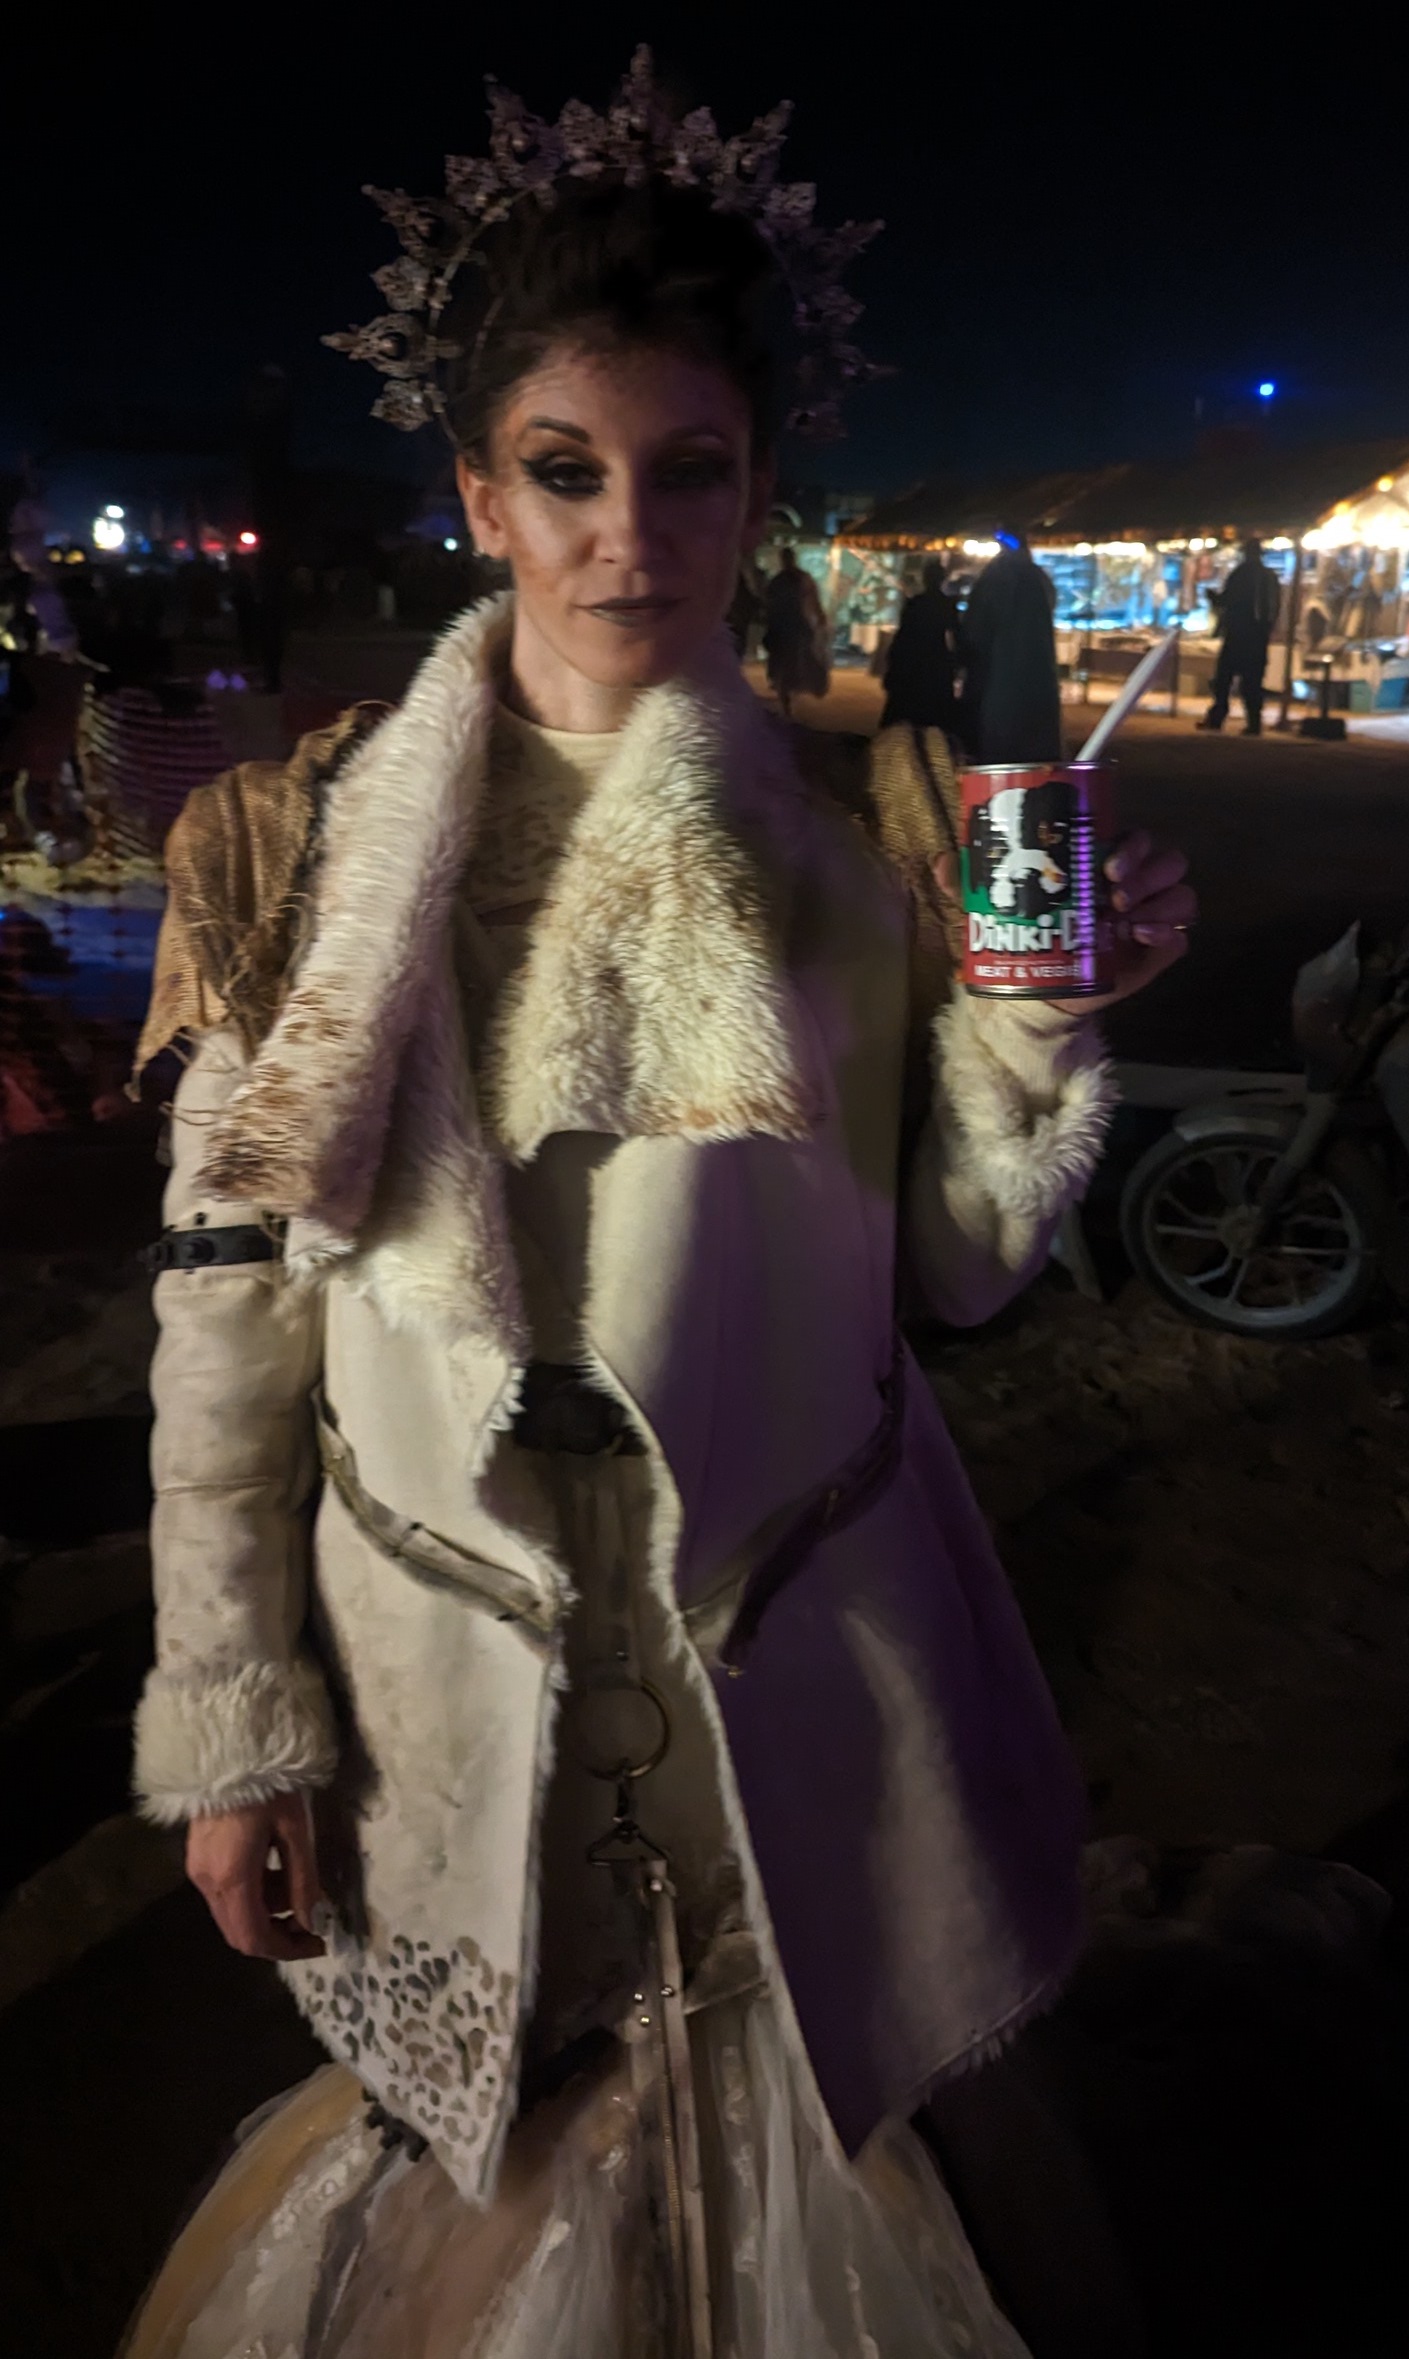
Dining al fresco at Wasteland on my wedding day- only the finest doggy chow!
Next time I’d love to play with chainmail, inspired by Tina Turner’s character in “Beyond Thunderdome”, with huge structural shoulder pads (although I was nervous about wearing too much metal against my skin during the daytime sun!). I’d also like to incorporate a vintage element somewhere – perhaps a distressed poodle up-do and swimsuit to lean into the post-apocalyptic Barbie theme! So many possibilities to play with – I’ll definitely be back.
Thanks for reading 